Gatsby Contact Form
Without Backend, Sent via Email (or Slack)
This guide will teach you how to create a beautiful and elegant form using Gatsby. Creating contact forms in Gatsby shouldn’t be a tedious task if your site is built using a static/jamstack approach.
Create the Gatsby app
(if you're starting a brand new project)
In case you're starting a brand new project, you'll need some initial steps. One of the most straightforward ways is to use the gatsby-cli package. To start:
- Open the terminal and install the gatsby-cli package
npm install -g gatsby-cli - Go to the directory where you will store your project. Initialize gatsby:
npm init gatsby - When the installation has finished, you can start the server
cd my-gatsby-site && npm run develop
Use your favorite code editor to work with files in ~/my-gatsby-site/src. You will be able to make a contact form there.
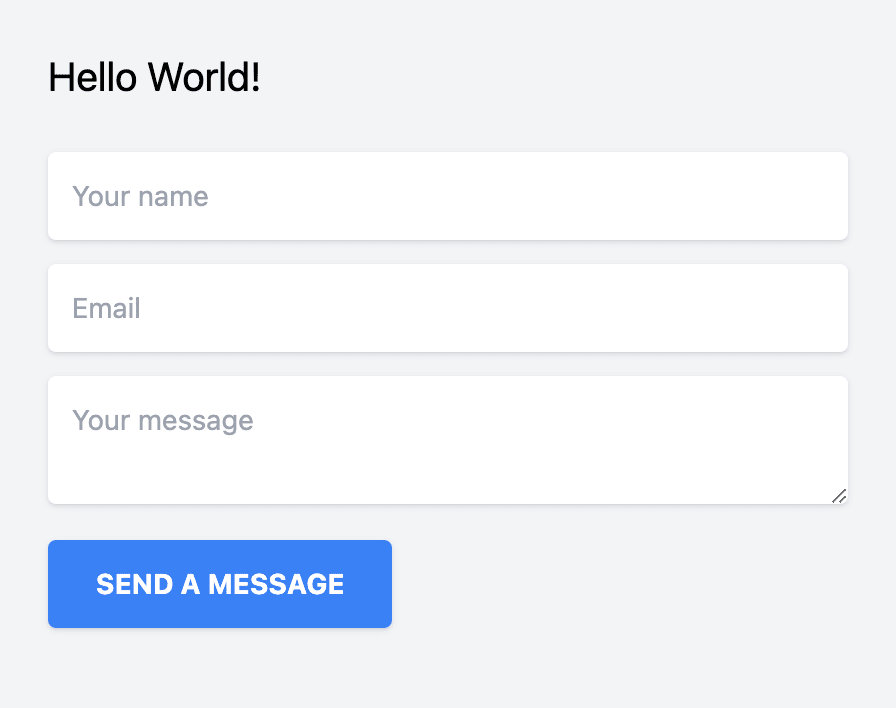
Create the contact form component
Create a new file called ContactForm.js in the src folder. You can use any type of field and any framework for building HTML, CSS, and Javascript. For now, let's stick with the standard "Name", "Email", and "Message" for our simple contact form. We're also going to use TailwindCSS to make it beautiful, but again, you can use your own customized CSS code too.
See how to install Gatsby Tailwind CSS here.
Embed component into your app
Open src/pages/index.js in your src folder, add contact form component. If it's an existing project, open the file where the contact form should appear. You need to:
- Import ContactForm — line number #2
- Display ContactForm — line number #10
Create the free HeroTofu forms backend
Head over to herotofu.com and create an account. It will handle the tedious and complicated form submission process for you. You'll get 14 free days of the free trial. Later, you can leave it with a free forever plan. For the sole purpose of using the contact form, it's usually more than enough.
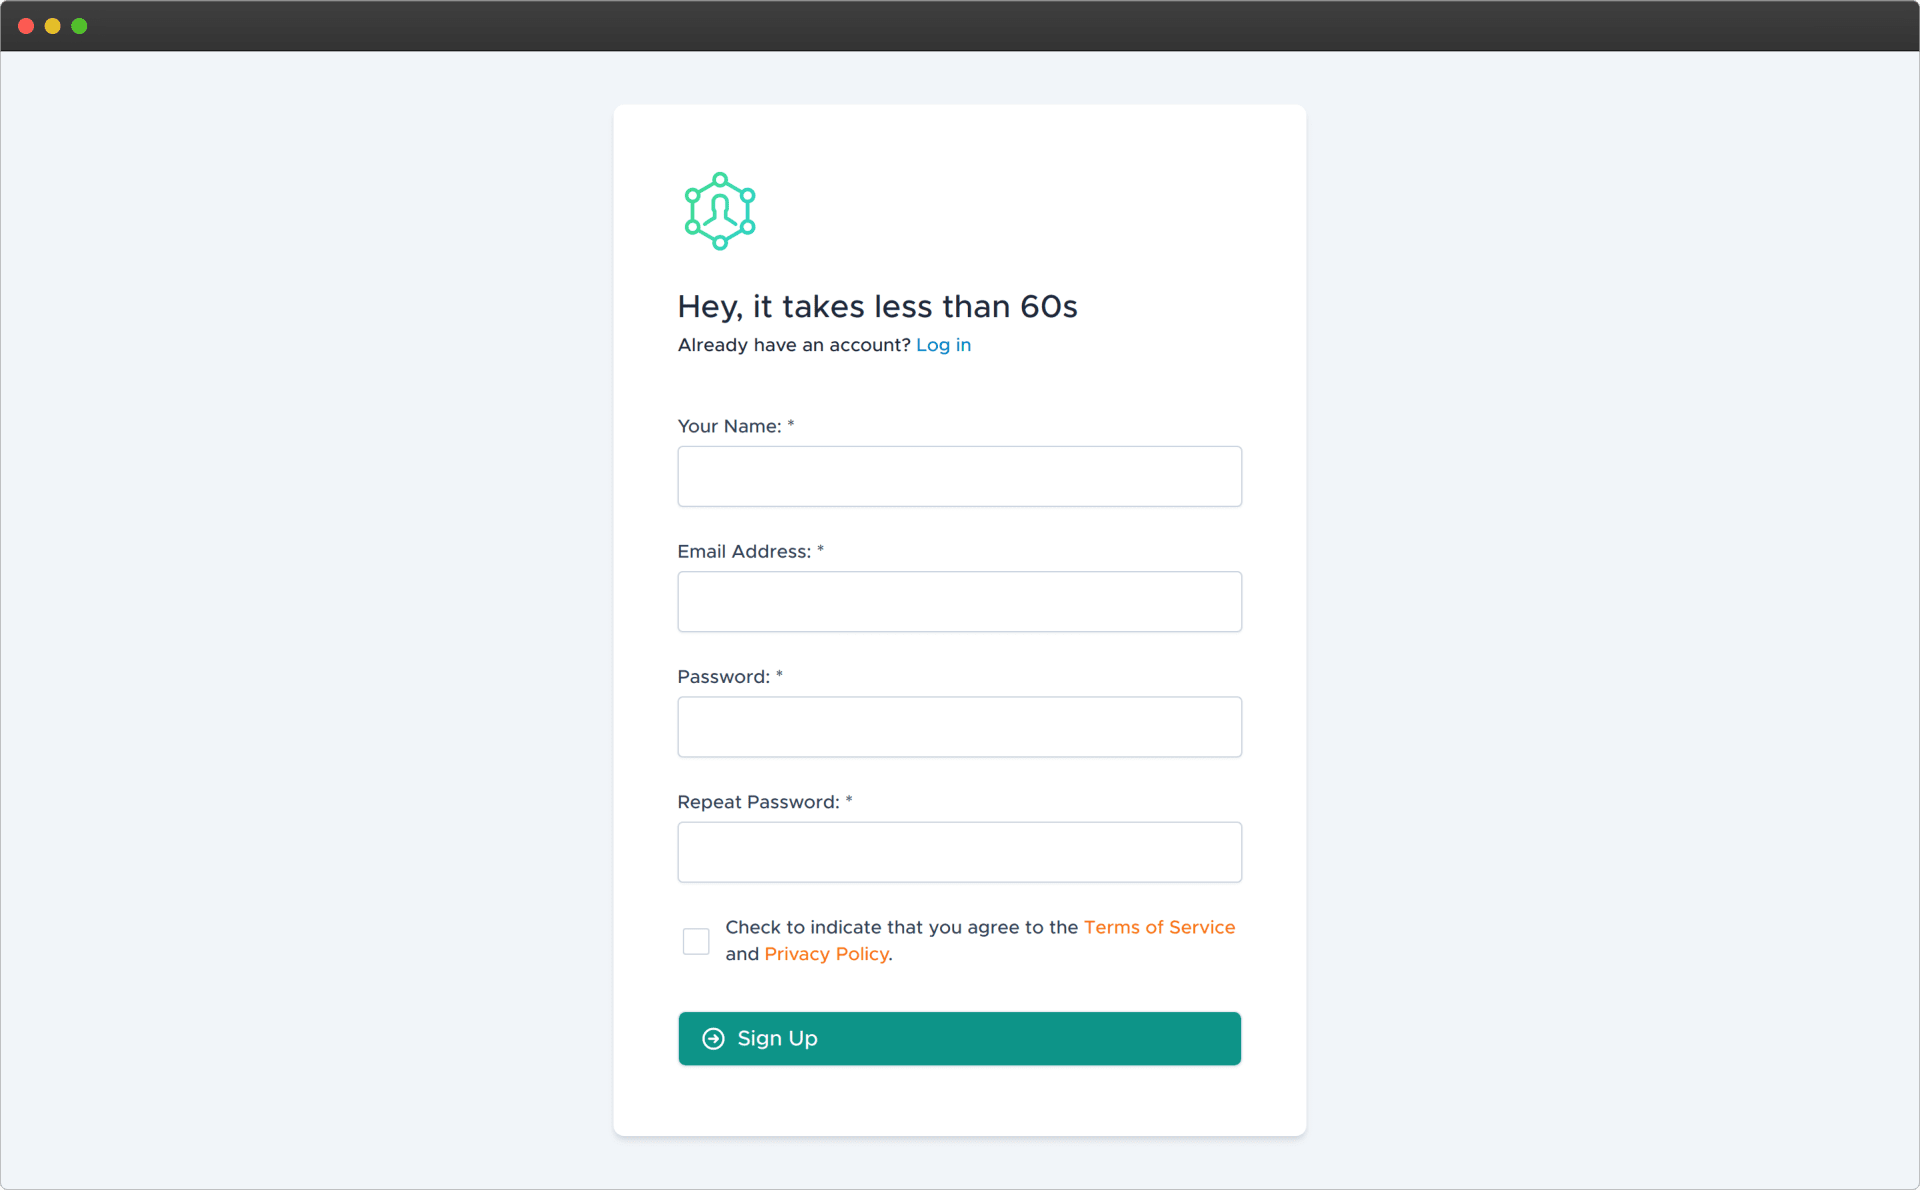
HeroTofu registration is straightforward. Fill in the basic fields and then confirm your email address.
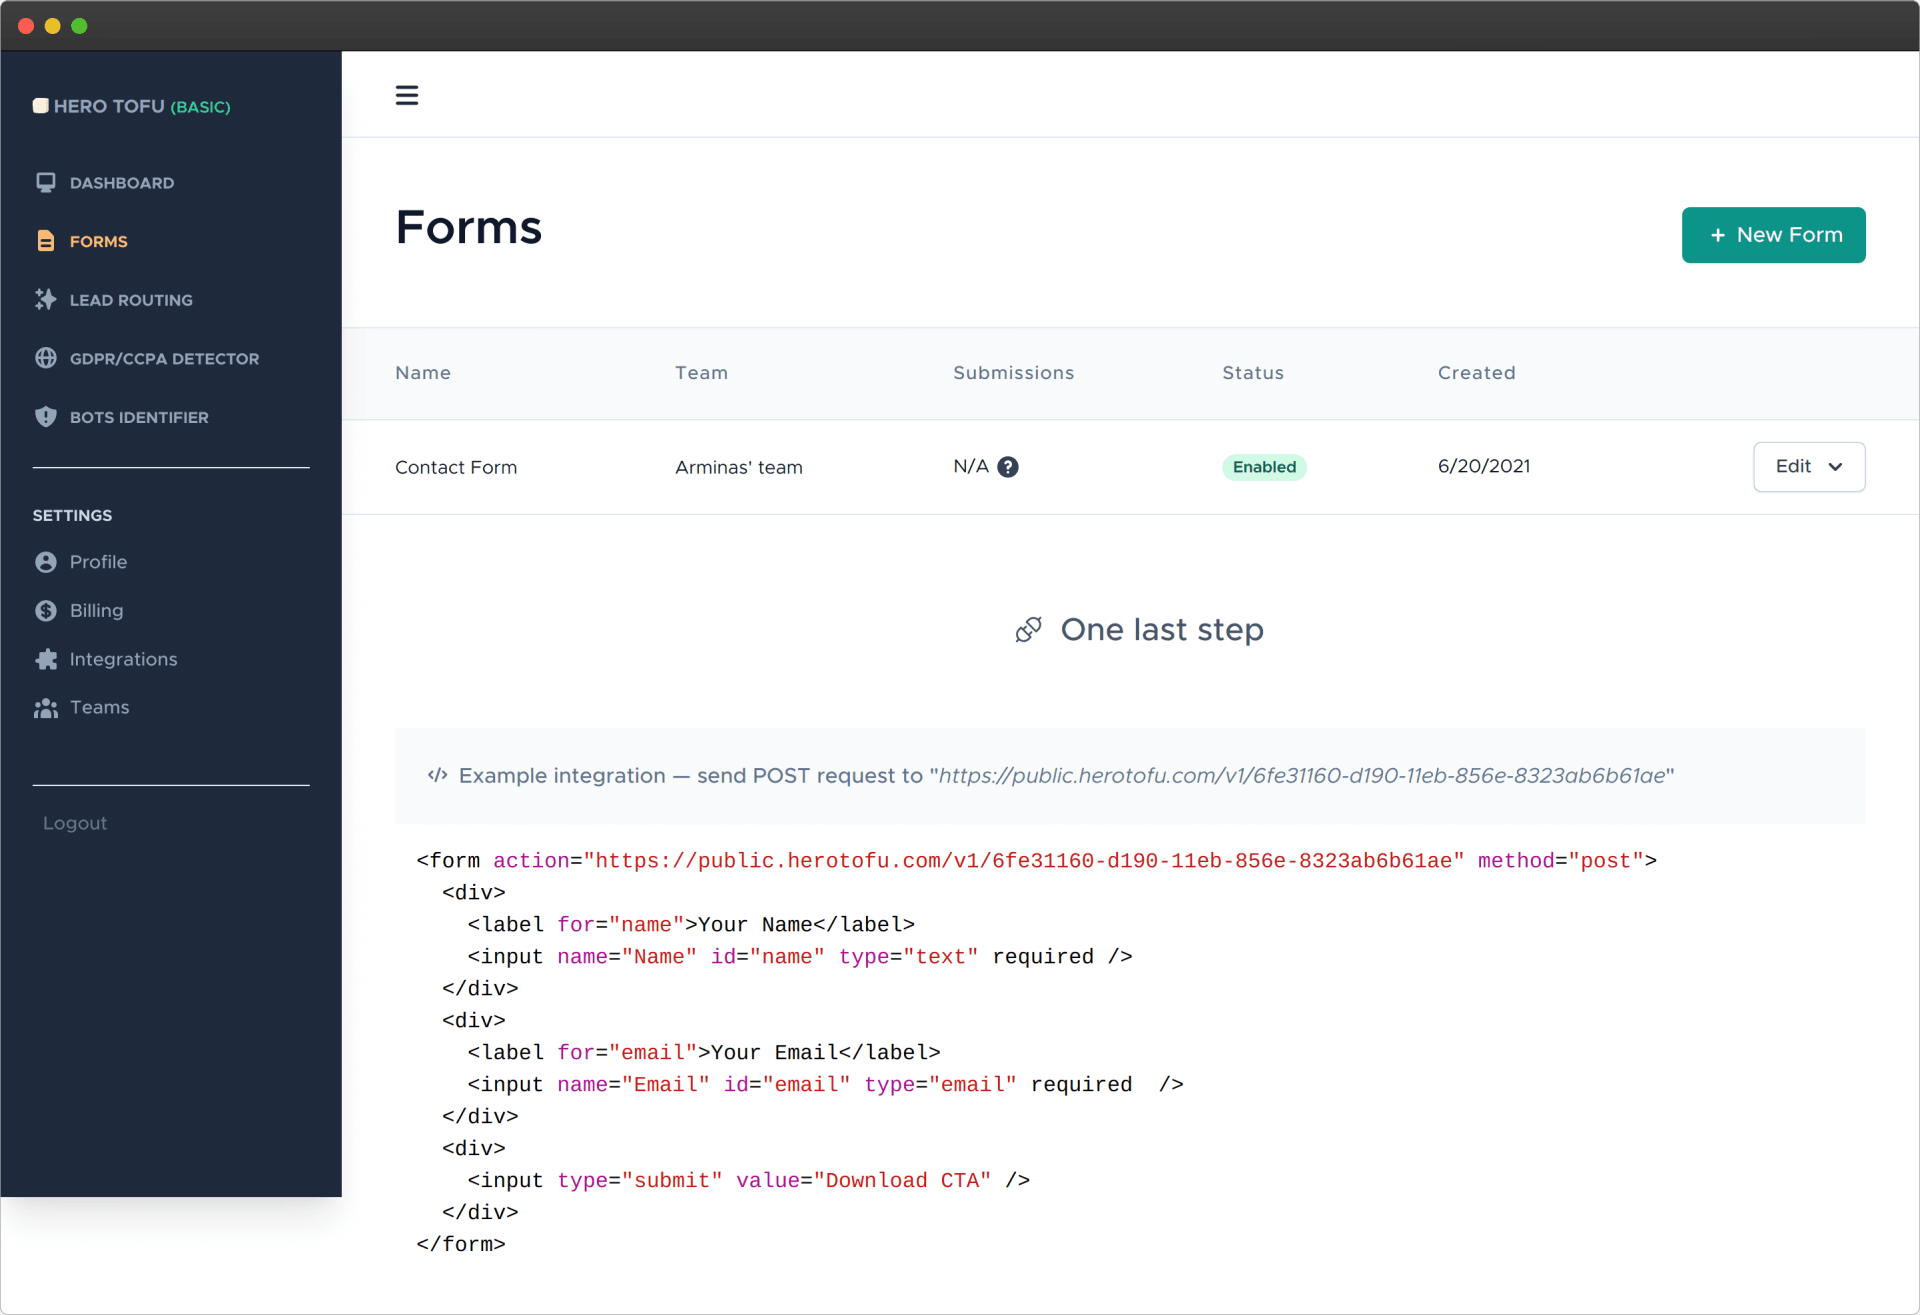
Once you have confirmed your email address, go to app.herotofu.com/forms to create your first form. Enter your name and email address where you want to receive your form submissions Slack and Zapier are also options, but you need to pay for them once the trial is over.
You'll get the endpoint URL once you hit Submit, so remember to copy that.
Use the created forms backend in your contact form
Once again, open the ContactForm.js file and fill in the form endpoint URL. You need to change the FORM_ENDPOINT variable at the top of the file. It should look like this.
Done! Go ahead and test your contact form submission! You don't need to do any backend email work, as HeroTofu will handle everything.
Bonus: advanced React implementation
As you can see, the implementation is very basic. You only get those fields on the contact form that are visible on the HTML. It might not work if you want something more customized. You'll need to adjust the handleSubmit handler function to inject extra data dynamically. Good examples include the user ID, the selected plan, and some meta-information about site usage. It should make an AJAX call to the FORM_ENDPOINT instead of the regular form submissions. Here's an example of how it might look in practice.
You send a POST request to the FORM_ENDPOINT of your contact form. But it doesn't matter which way you do it. It can be a regular form submit with ajax handler upon form submission or a completely different request that doesn't involve HTML forms at all
Treat it as a REST API because as long as you're sending POST, you'll be good to go. Your react form submission will reach your inbox.