How to Build WordPress Contact Form Without a Plugin
WordPress is one of the most popular website creation platforms out there right now. According to BuiltWith, there are currently 28,183,568 live WordPress websites and counting. It is typical for new creators of WordPress sites to start using plugins immediately. You can also create a WordPress contact form via a plugin.
Unfortunately, standard plugins don't always tick every box for your business. "To use a plugin or not to use a plugin?" seems to be the big question here. But before you follow the same well-trodden route. Here is a summary of the main problems with plugins. You can also follow the easy-to-use guide to create a WordPress contact form with HeroTofu instead.
The Problems with Plugins
Firstly, it's handy to know about the problems you can experience when you use plugins. It can be surprising how many areas of your business and website they affect. You should consider dropping the plugin option altogether.
- Plugins can be inefficient and slow down your site. Each plugin you use adds code and files to your database, affecting your site's performance.
- Sometimes a new plugin can conflict with an existing plugin. Before you know it, you are wasting precious time trying to find the guilty culprit.
- You might have potential security risks using new plugins. It can happen when an inexperienced developer has done the coding.
- Some plugins are not easy to manage. The menu settings might be unclear. You might feel overwhelmed if you have little technical knowledge.
- You must update plugins constantly, which can be time-consuming and frustrating over time.
- Plugins are not very customizable. Therefore, you will only be able to create your form with the available fields. This restriction can be a definite no-no for designers and developers.
A WordPress Contact Form to Match Your Business
The good news is that you can create a WordPress contact form with HeroTofu, without using a plugin. Imagine having the ability to customize your layout exactly how you want. Then, you can grab the bull by the horns and go it alone.
There are quite a few options for how you can create an HTML form. The following guide will explain how each option works, also, why the third option is the best solution.
How To Easily Create a WordPress Contact Form Using HeroTofu
Before you begin, you will need to have a WordPress site. You can watch this quick tutorial on YouTube below if you don't have one already.
It's a good idea to keep your WordPress site open. You can now create a WordPress contact form in four easy steps.
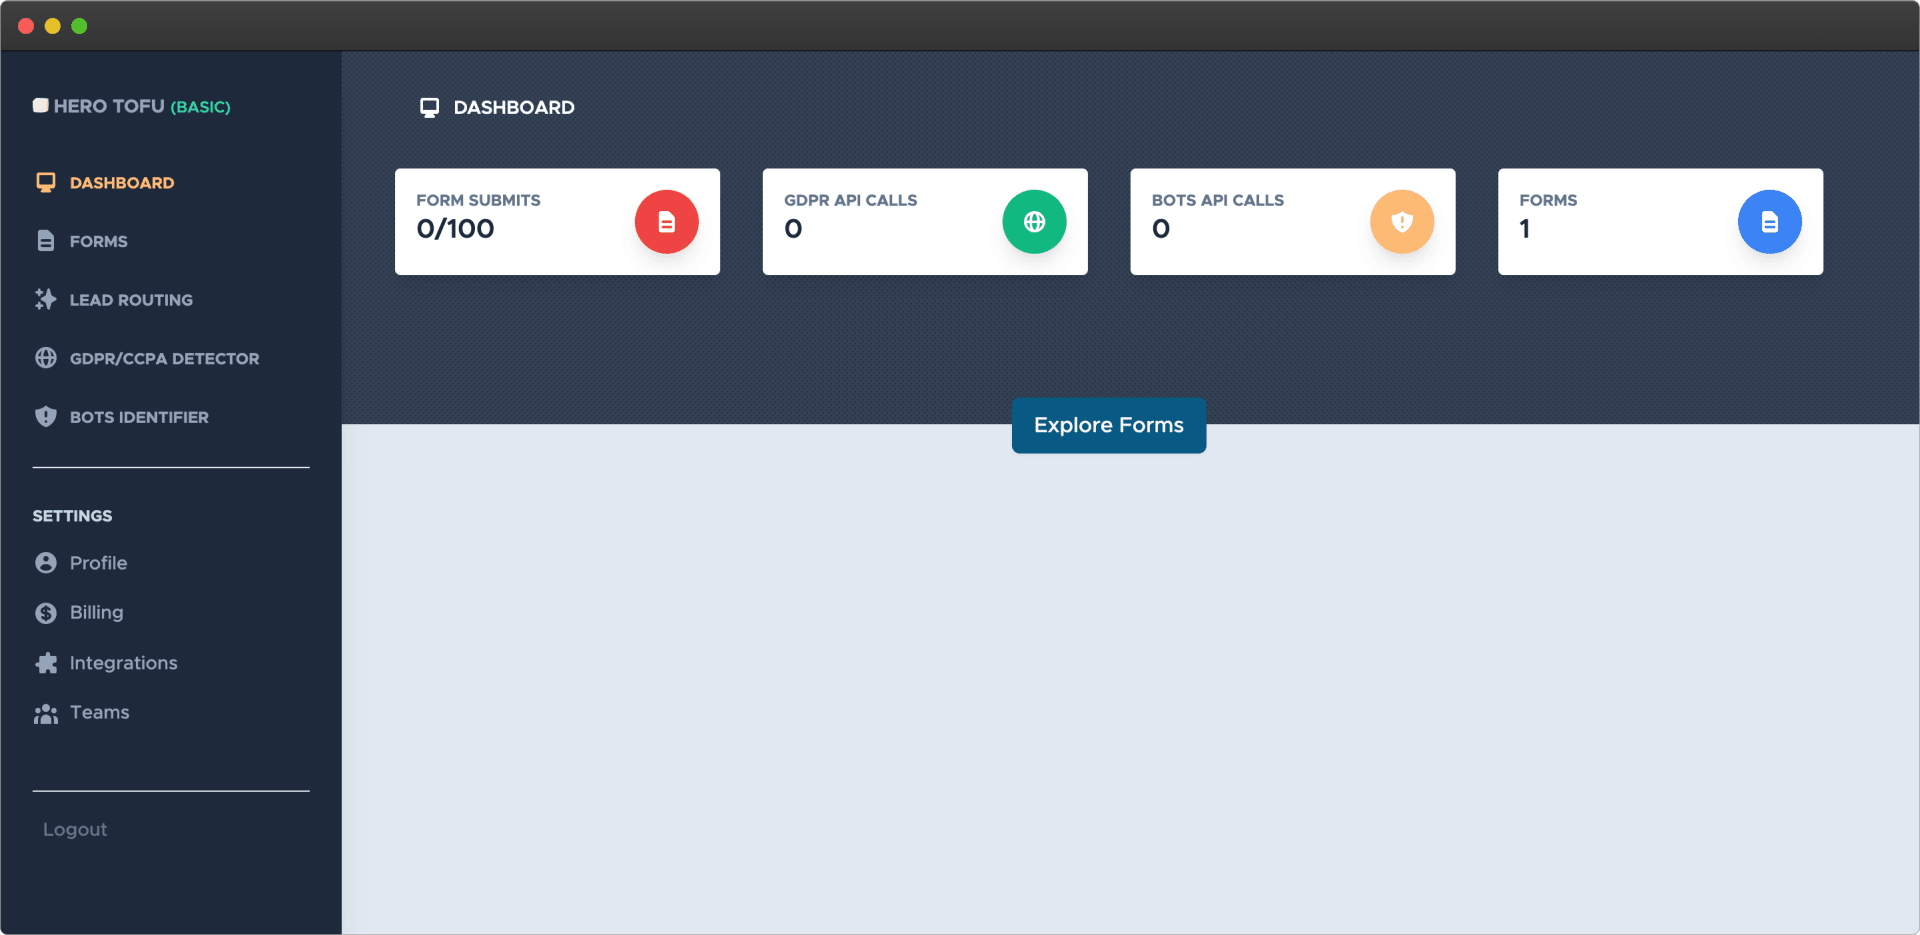
Step 1 - HeroTofu Account
Go straight to HeroTofu, set up a FREE account, or log in to your existing one. HeroTofu is simple to use. So, if you don't have any technical knowledge, you don't need to worry. It is 100% free, and you don't need to use credit card details to get started. You get a free 14-day trial and can change to the free forever plan after this period.
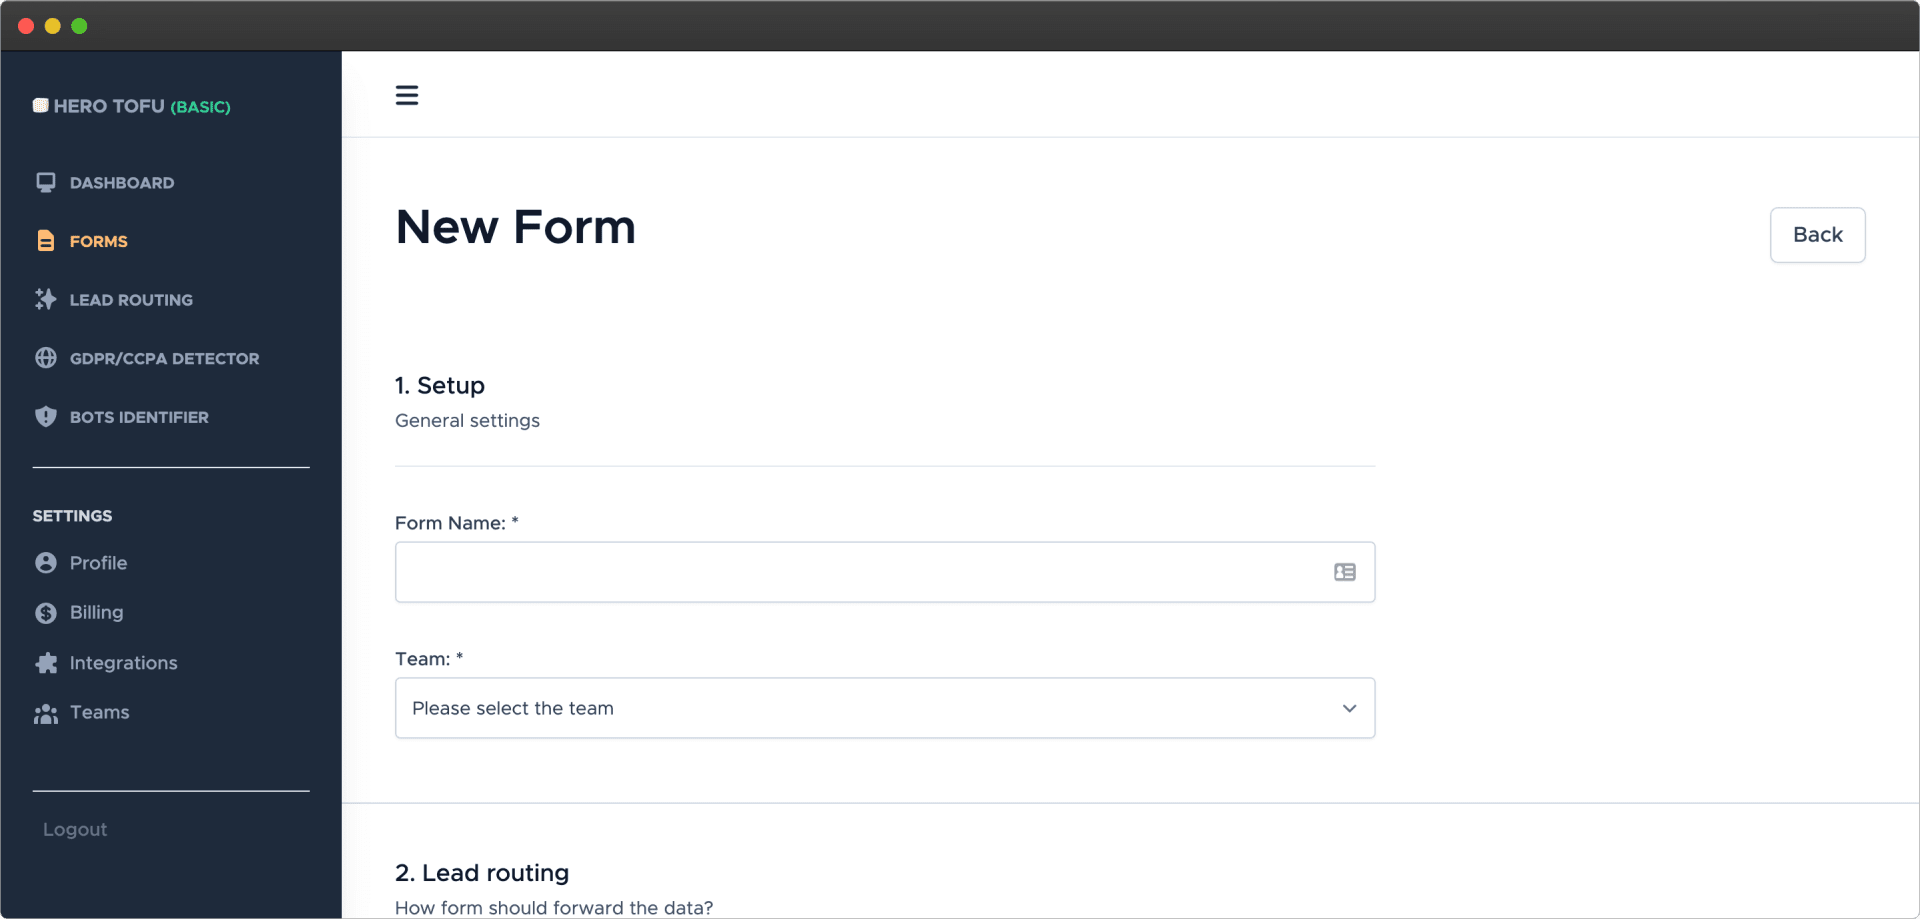
Step 2 - Create a New Form on HeroTofu
Once you are in the HeroTofu dashboard, select the "Forms" tab on the left-hand side menu. This selection will take you to the main forms screen. Select "+ New Form" in the top-right-hand corner. You can now start to create your form.

Give the form an easy name, such as "Contact Form for WordPress Site." Note that you will have a unique form endpoint for your new form. Please keep this information to hand as you will need to use it later.
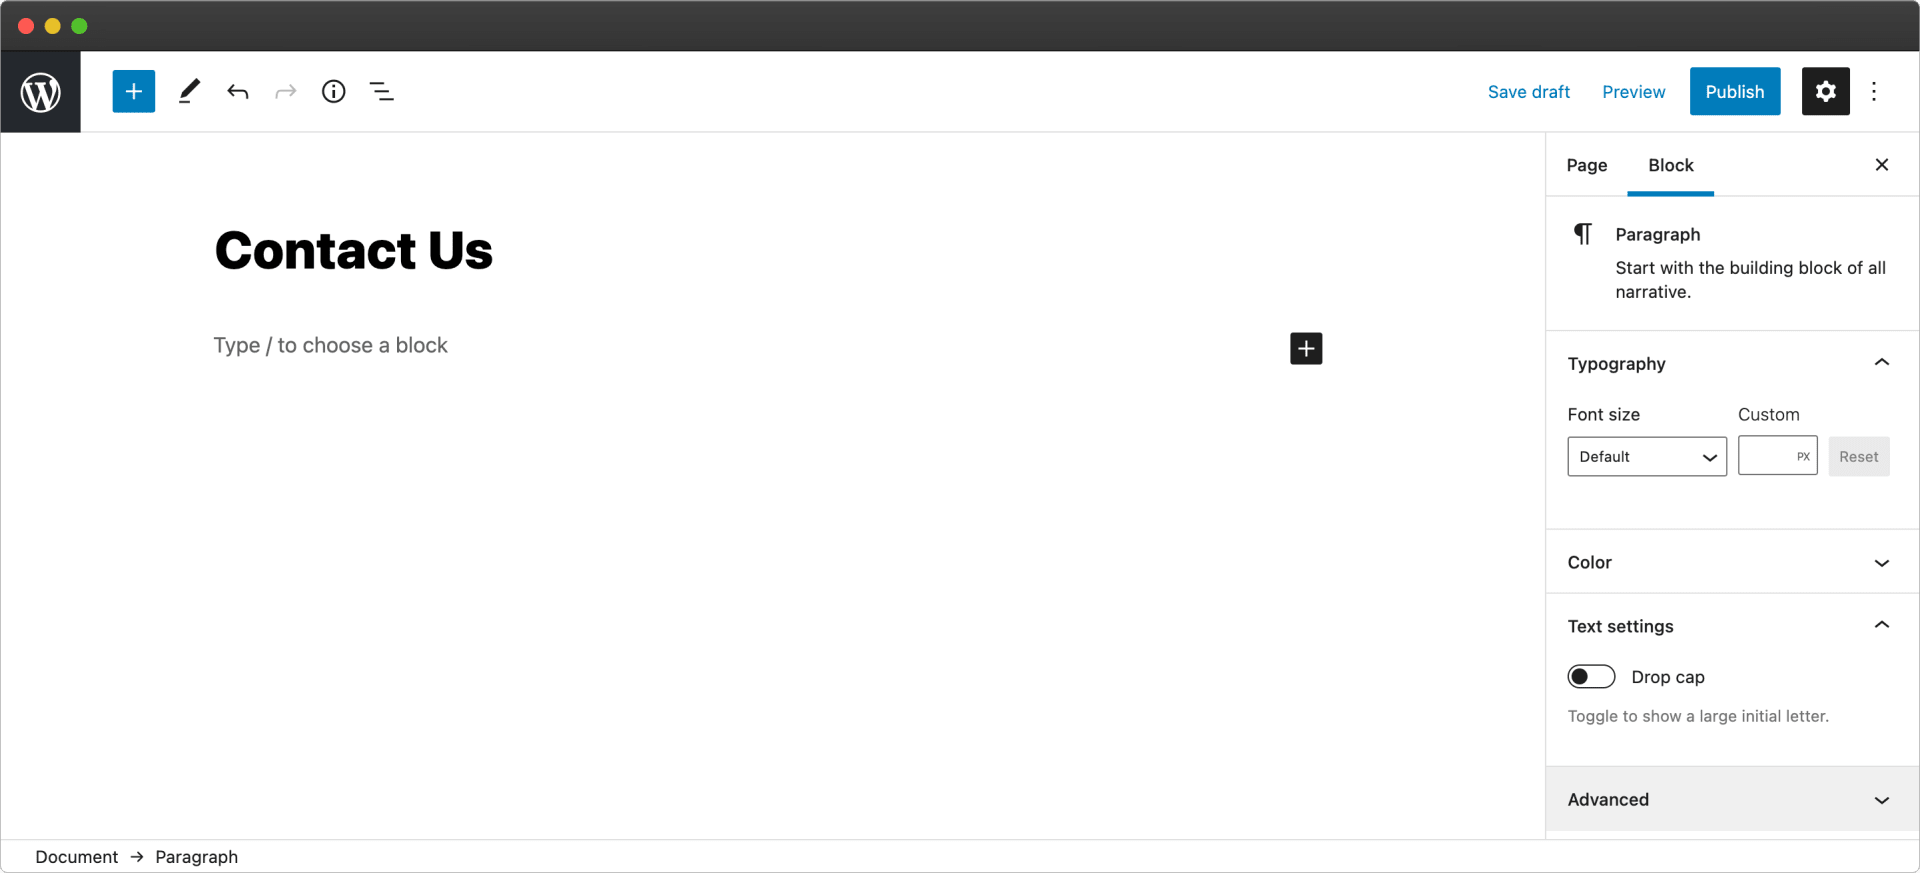
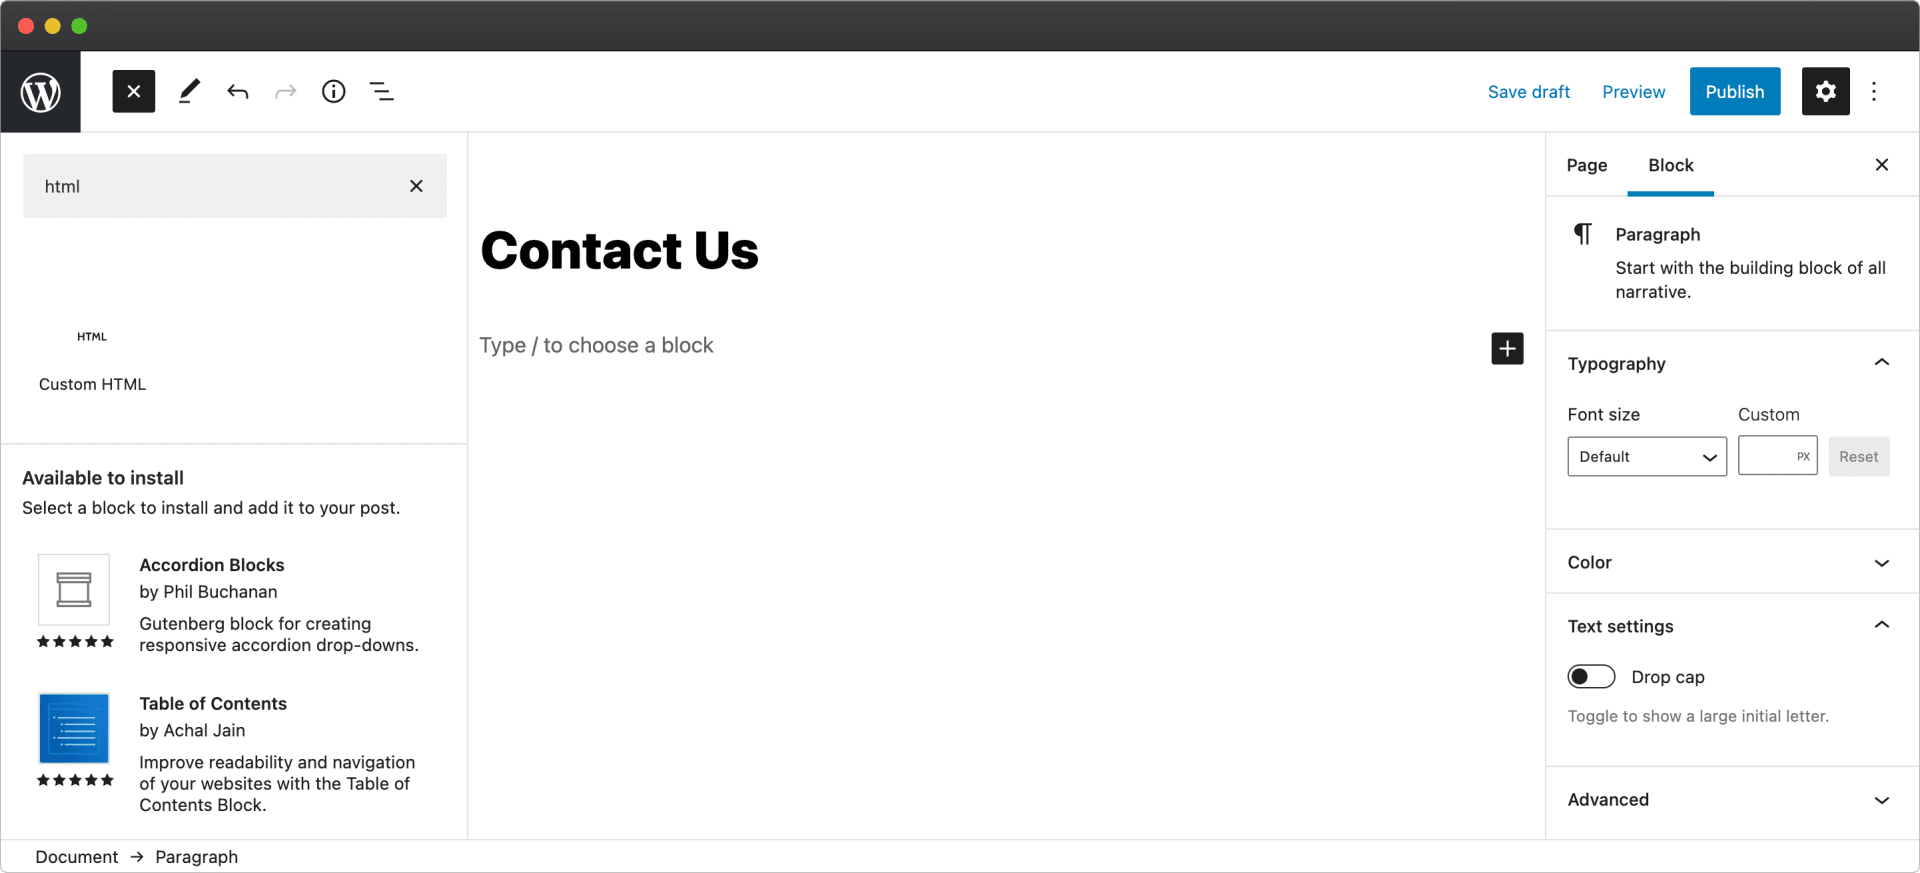
Step 3 - Create a WordPress Page for the Contact Form
You can now go to your WordPress website, which you should already have open. Go to the WordPress dashboard, select the "Pages" option, and click "Add New." You can check the screenshot below if you are unclear where that is. Give the new page a relevant title, such as "Contact Us."
Step 4 - Copy-paste example WordPress Form
You are now ready to set up your WordPress Form. At this stage, you have two different options:
- a. If you have TailwindCSS for your website, you can use the code block we have prepared for you below.
- b. When you want to keep complete control of the design for your website, you can use a code block without Tailwind CSS. For example, you can use the one below.
Once you have decided which code block you will use, you can add a custom HTML block. Then copy and paste the code you prefer. (NB For older WordPress versions without HTML blocks. You can click the "Text" tab and paste the code there.
Finally, you now need to use the unique form endpoint you saved earlier on. Then, you can paste the URL into the action attribute of the HTML block. Replace "herotofu.com/start" with your form endpoint. By doing this, any submissions will come to the new form you made on the HeroTofu dashboard.
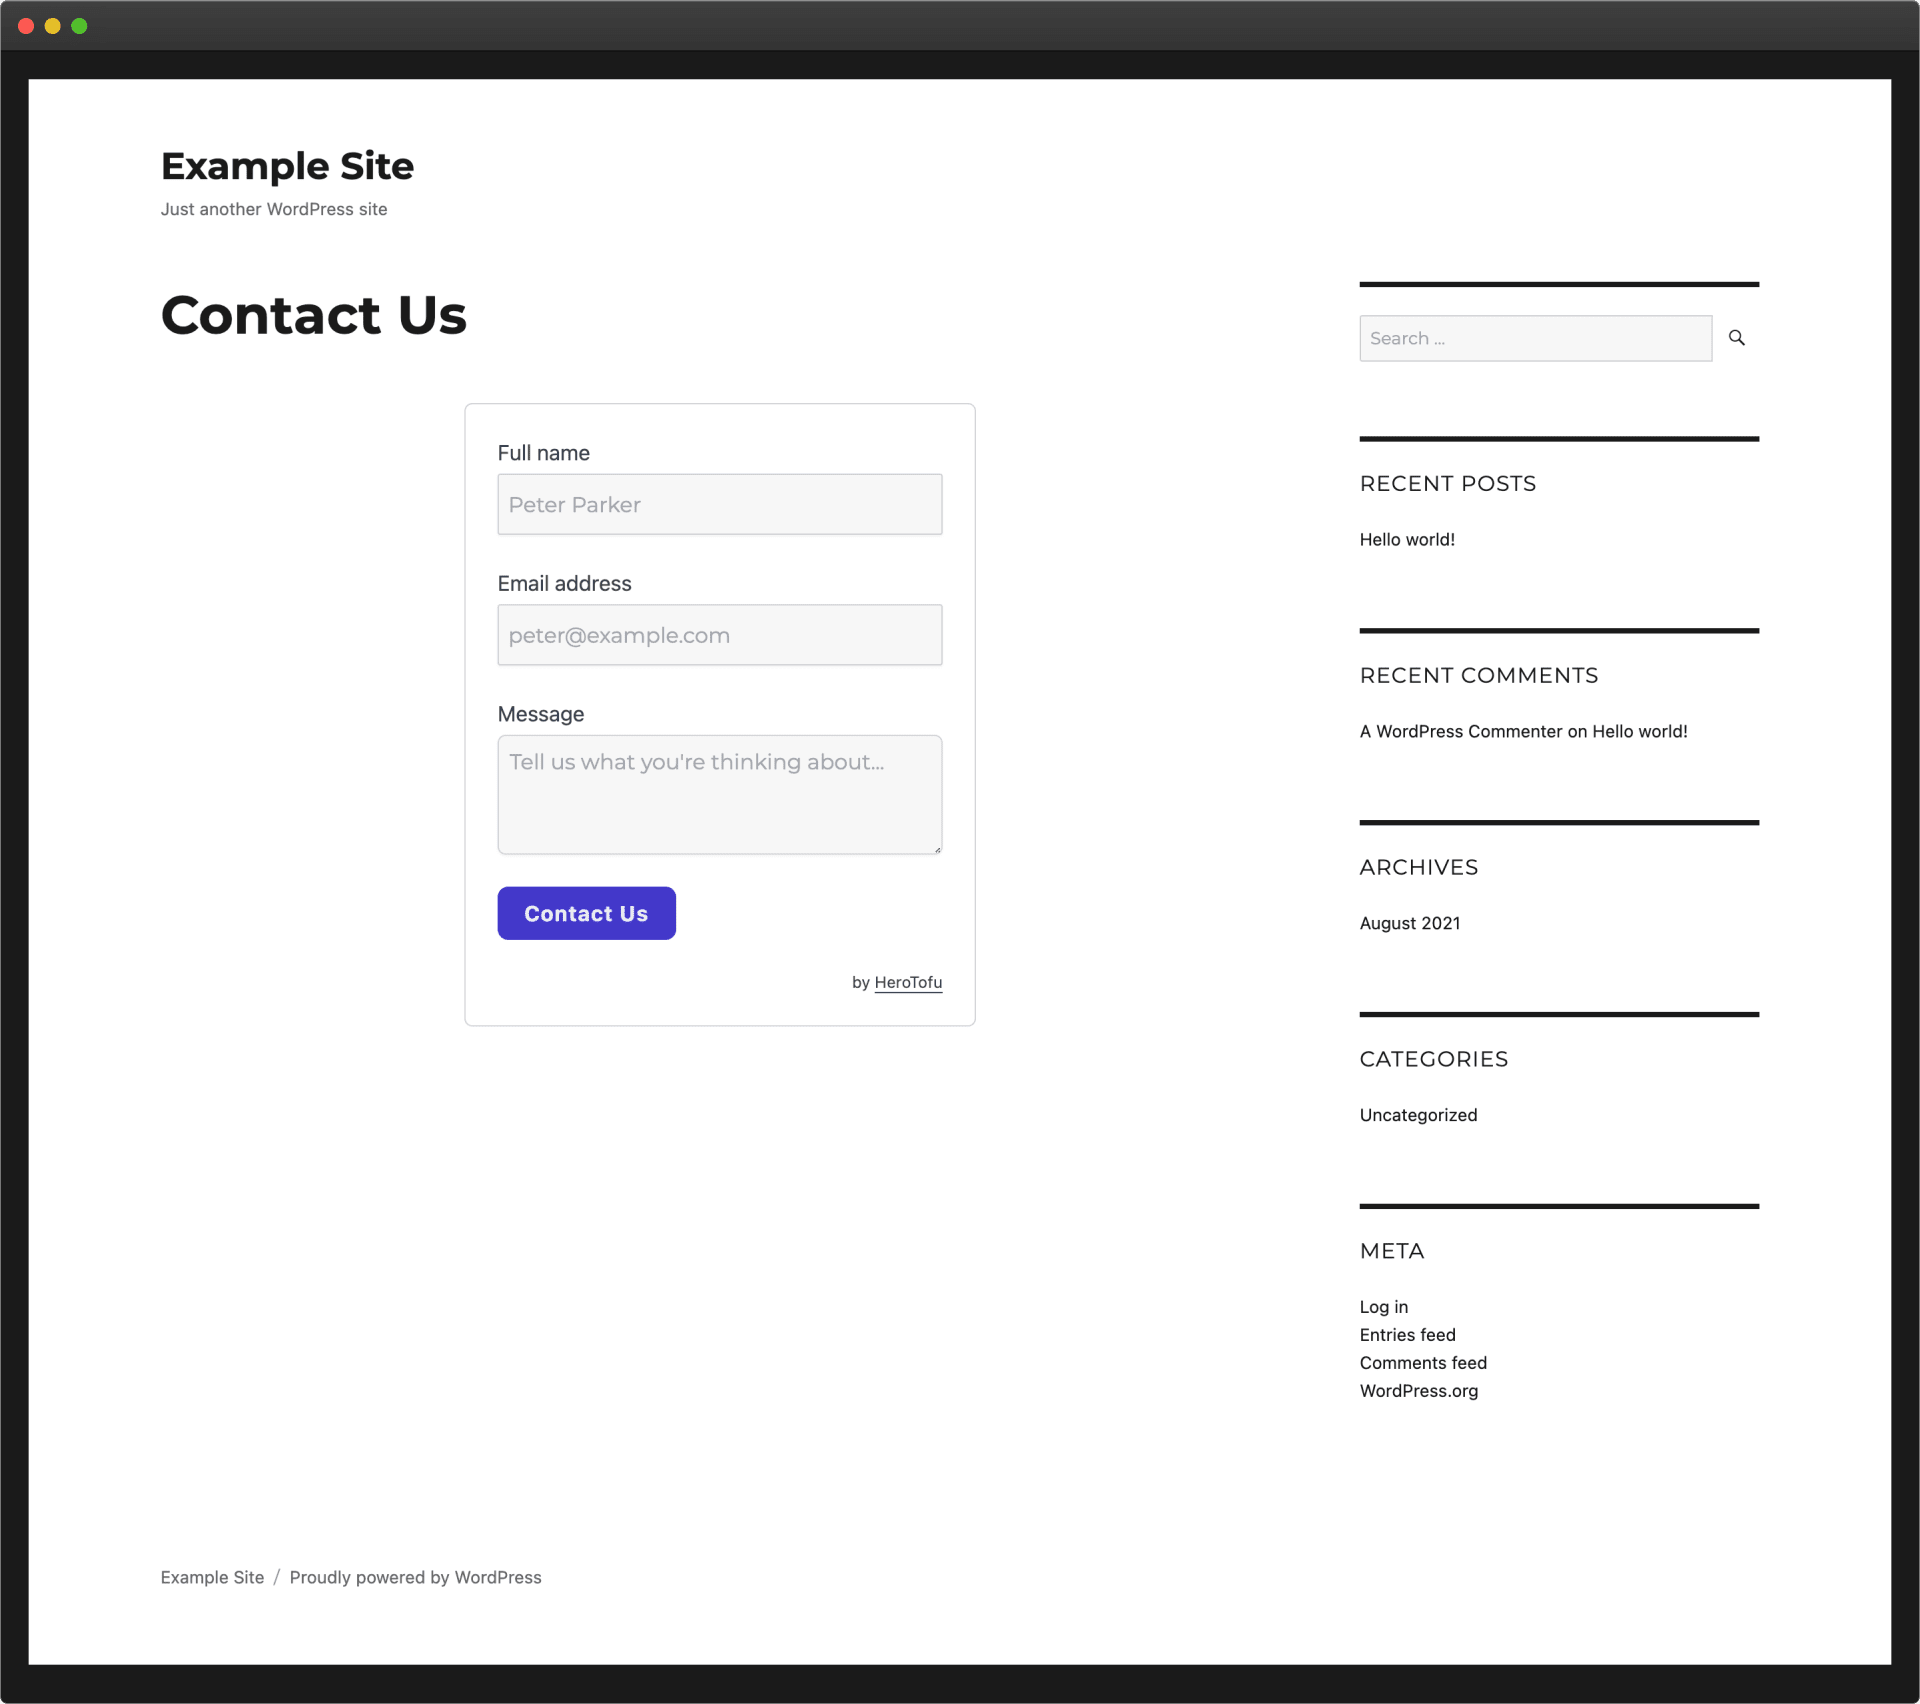
The Finished Result
Once you have completed the four simple steps above. The coded form, published on your WordPress page, will look like this:
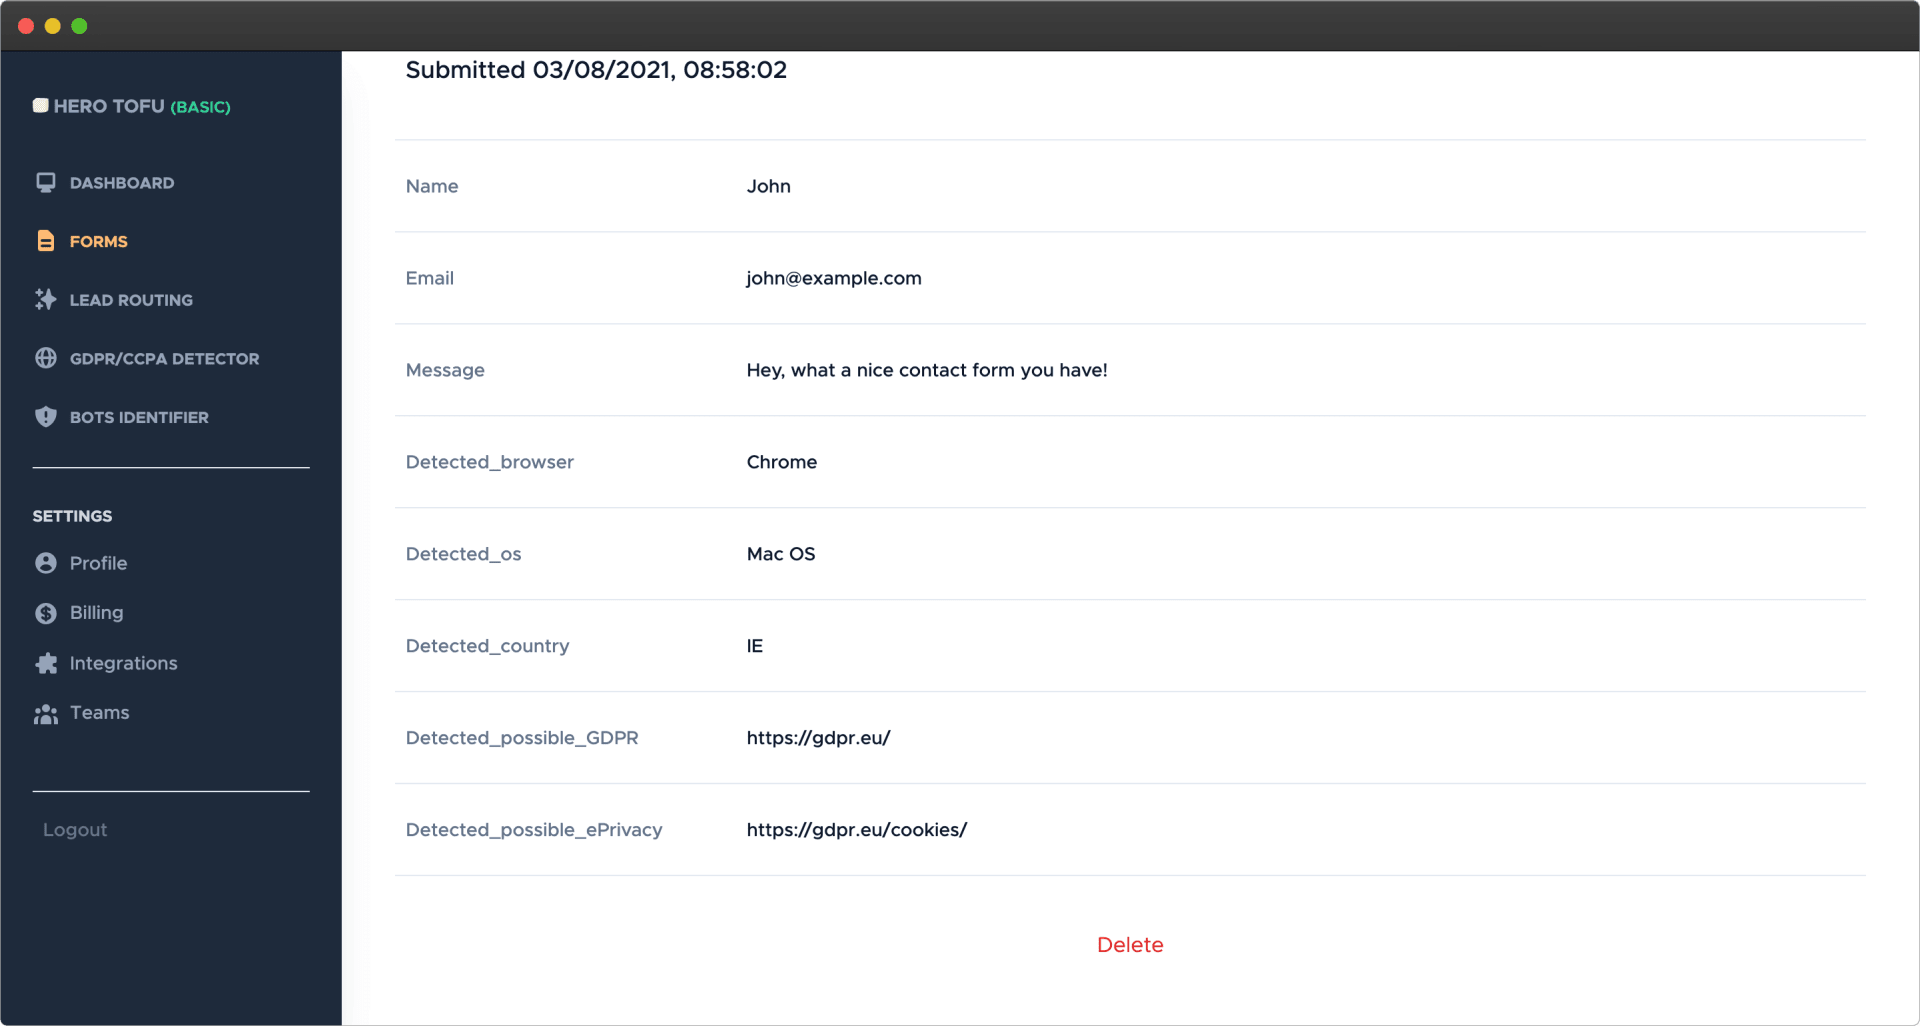
Also, on the HeroTofu dashboard, the submitted form data is displayed like this:
Well done! Your WordPress Site is Now Using HeroTofu For Form Creation.
It is as simple as that. You are a true hero! HeroTofu is now active and will handle the contact form submissions for your website. You did it and with no pesky plugins' insight. You are now in total control of your forms and not at the mercy of a standard format.
You can also take your form to the next level by:
- Setting up email notifications.
- Integrating your form with Slack and Zapier.
- Controlling any Spam with reCAPTCHA integration.
The Benefits of HeroTofu
If you have followed the easy instructions above, you should be well on your way to creating your ideal form. But, if you have any questions, please get in touch with us here, and we will be more than happy to help you. Here are a few of the benefits for you when you use HeroTofu for your forms.
- Low maintenance - You don't have to update plugins to match the latest version of WordPress. Or spend time on coding, looking at compatibility issues with other WordPress tools.
- Total Form Control - You can customize your forms how you like. It doesn't matter if your business is different from others. You can design your form for your specific needs.
- Better Security - HeroTofu gives you access to the latest cloud technologies. So you have optimized security for your data. The spam filter also helps to keep your inbox clean.
- Improved Performance - Opting for a customized form means you will have less code on your WordPress website. So your website will be faster without performance draining plugins.
- Integration Opportunities - You can integrate your customized form with Slack and Zapier. These integrations mean you can share your form data with apps, such as MailChimp and HubSpot.
Create a form now!
We hope you enjoyed using this guide! We are here to answer any of your questions and give you friendly support whenever you want. So please feel free to contact us or share your form-building experiences.