Jekyll Contact Form
Without Backend, Sent via Email (or Slack)
This guide will teach you how to create a beautiful and elegant form using Jekyll.
Create the Jekyll app
(if you're starting a brand new project)
In case you're starting a brand new project, you'll need some initial steps. One of the most straightforward ways is to use the jekyll binary. See the installations docs for more details. To start:
- Open the terminal and install the jekyll
gem install jekyll bundler - Go to the directory where you will store your project. Initialize jekyll:
jekyll new jekyll-contact-form - Enter the newly created directory:
cd jekyll-contact-form - Start the server
bundle exec jekyll serve --livereload
Use your favorite code editor to work with files in jekyll-contact-form. You will be able to make a contact form there.
Add contact form
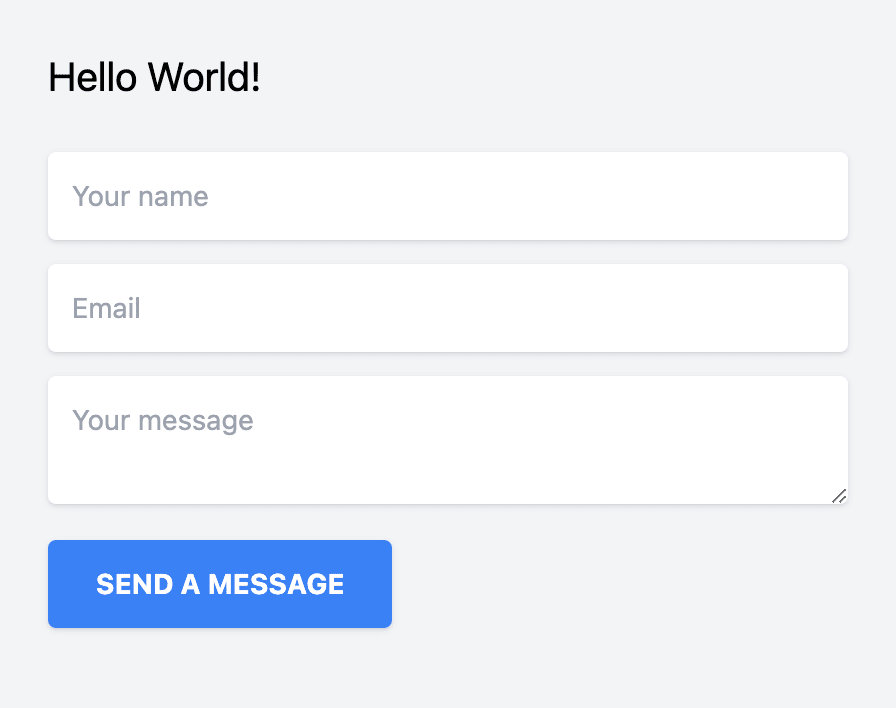
Open contact.markdown. You can use any type of field and any framework for building HTML, CSS, and Javascript. For now, let's stick with the standard "Name", "Email", and "Message" for our simple contact form. We're also going to use TailwindCSS to make it beautiful, but again, you can use your own customized CSS code too.
See more about Tailwind JIT via CDN.
Create the free HeroTofu forms backend
Head over to herotofu.com and create an account. It will handle the tedious and complicated form submission process for you. You'll get 14 free days of the free trial. Later, you can leave it with a free forever plan. For the sole purpose of using the contact form, it's usually more than enough.
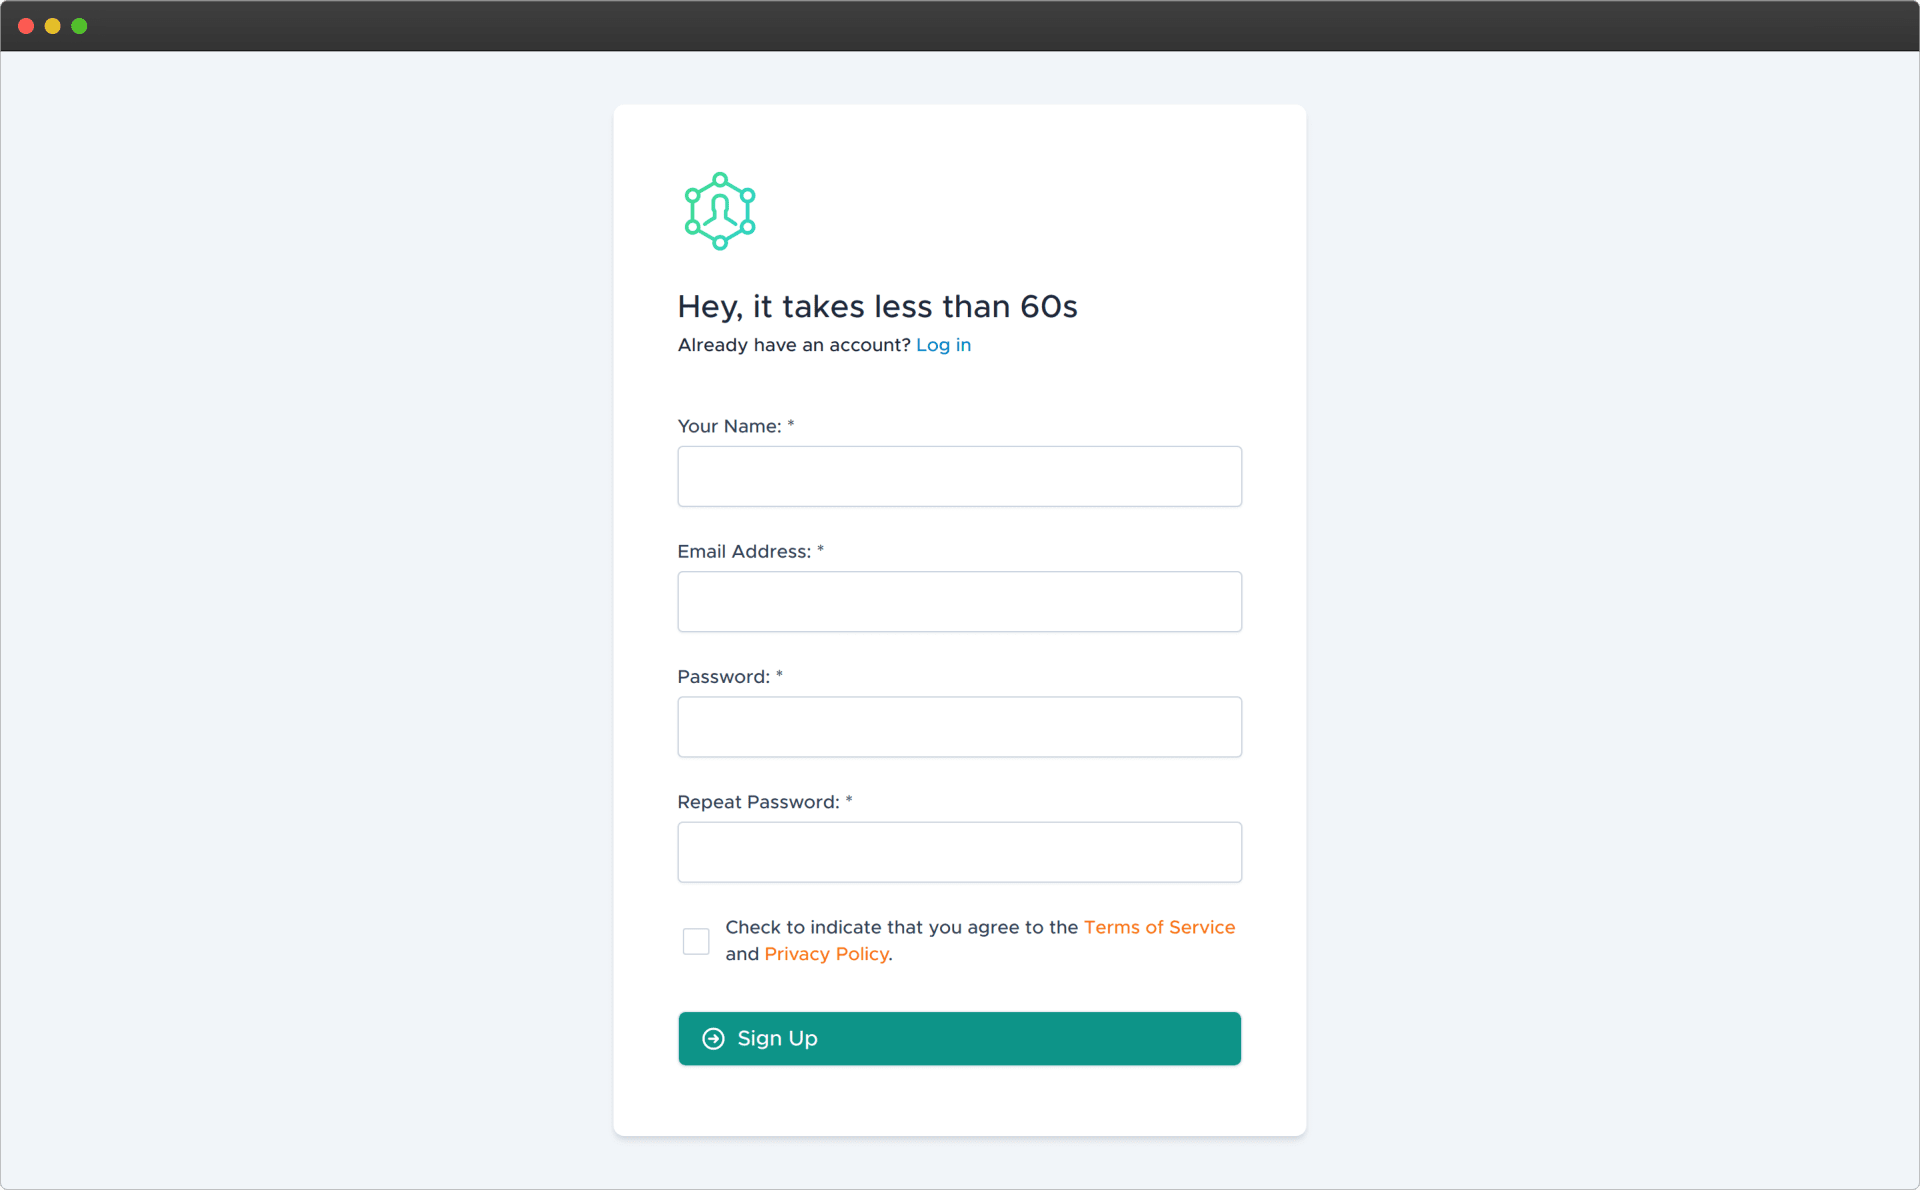
HeroTofu registration is straightforward. Fill in the basic fields and then confirm your email address.
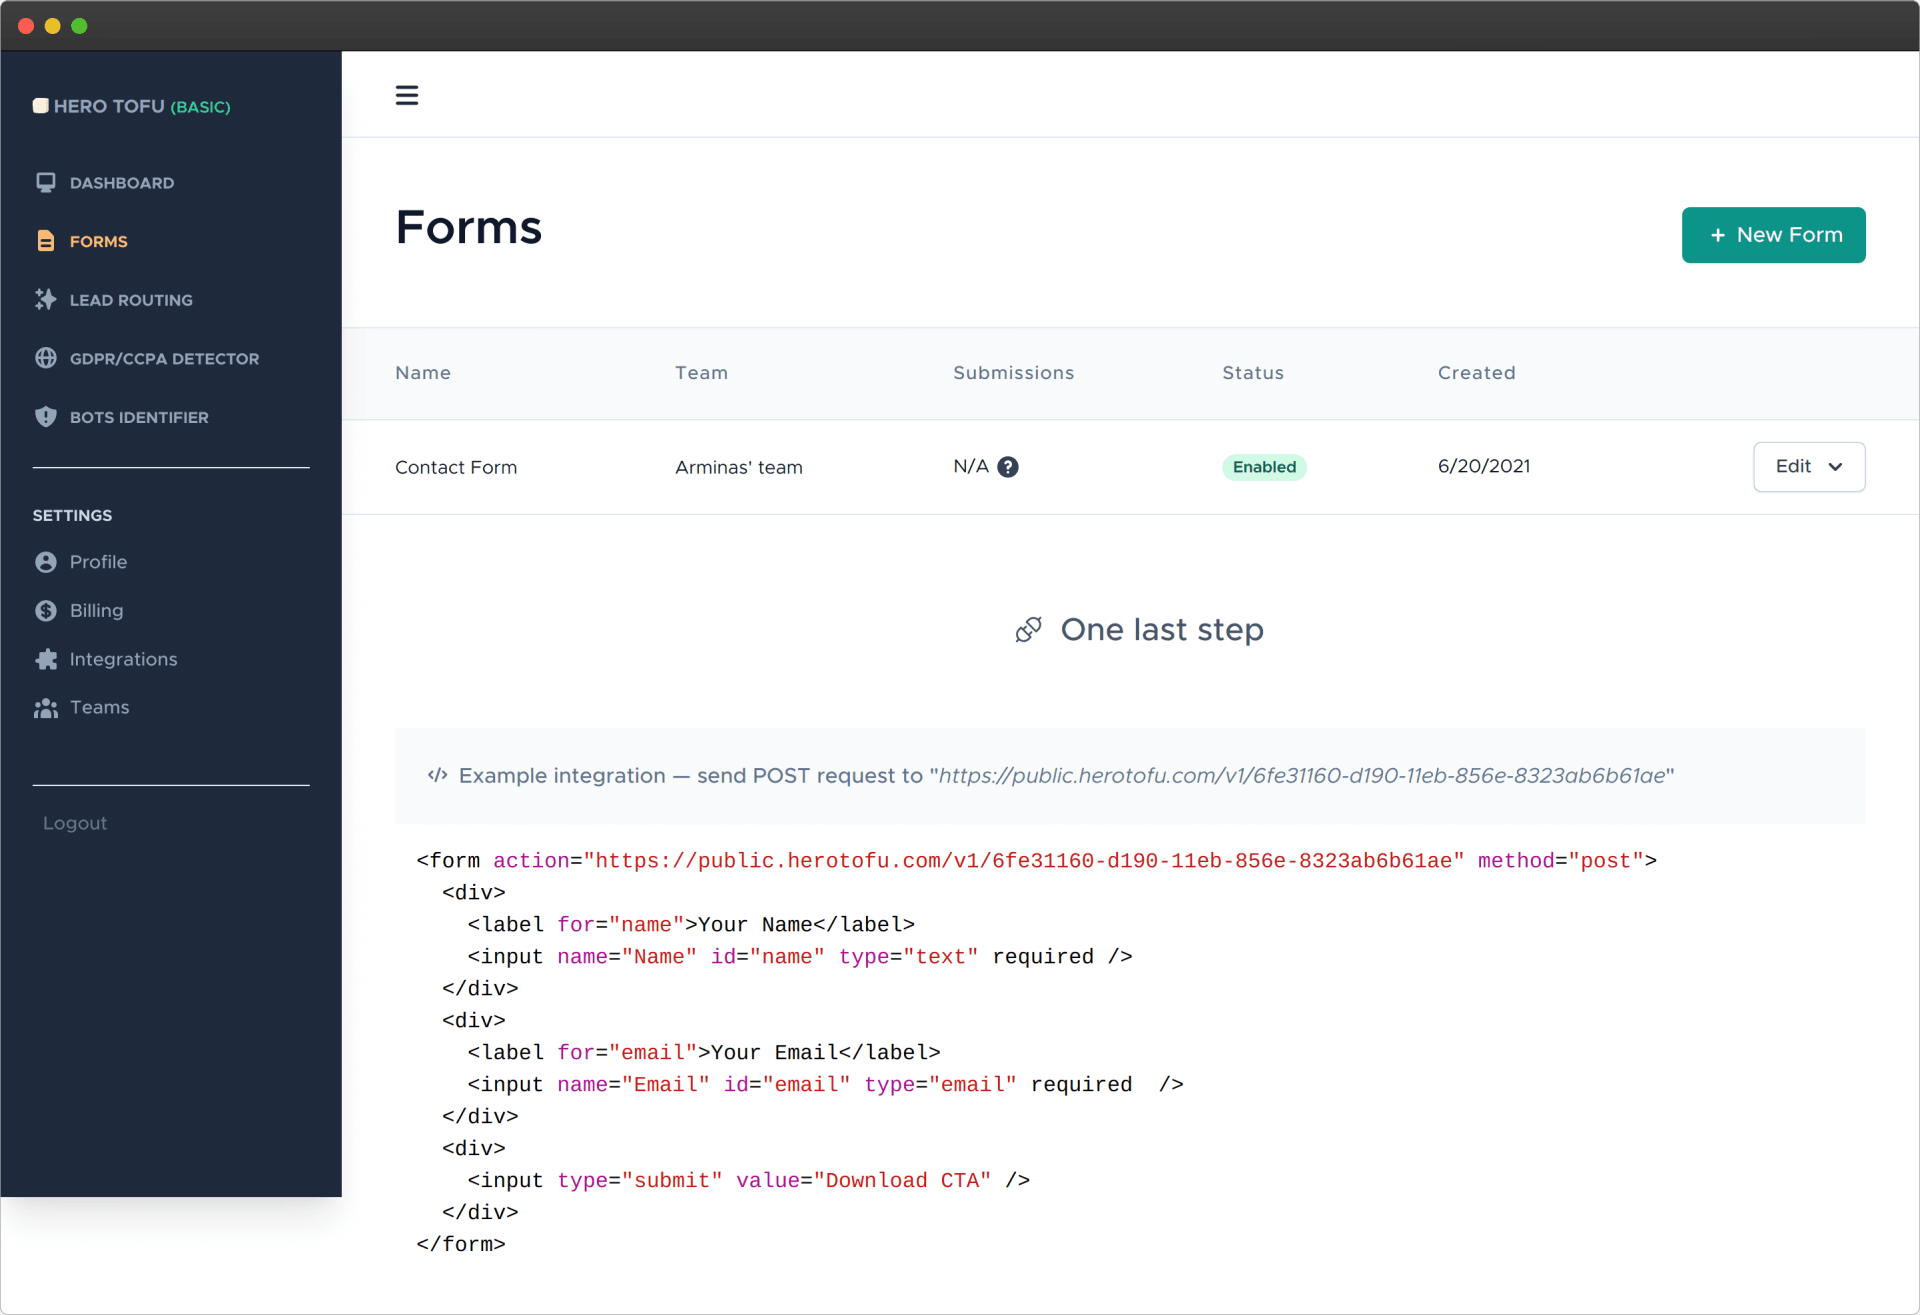
Once you have confirmed your email address, go to app.herotofu.com/forms to create your first form. Enter your name and email address where you want to receive your form submissions Slack and Zapier are also options, but you need to pay for them once the trial is over.
You'll get the endpoint URL once you hit Submit, so remember to copy that.
Use the created forms backend in your contact form
Once again, open the my-first-post.md file and fill in the form endpoint URL. You need to change the {FORM_ENDPOINT} variable at the top of the file. It should look like this.
Done! Go ahead and test your contact form submission! You don't need to do any backend email work, as HeroTofu will handle everything.