NextJS TypeScript Form

Receive submissions emails, get notifications, sync to your CRM/database.

This guide will show you how to make a nice-looking and elegant form with NextJS, Tailwind CSS, and TypeScript. It works perfectly with standard NextJS pages and the new app directory, but can be used on standalone React too.

On top of that, your form will be able to handle spam submissions, send emails, and sync with your CRM/database.

For react/plain javascript, check out the react contact form guide.

Create the NextJS app

(if you're starting a brand new project, otherwise you can skip it)

In case you're starting a brand new project, you'll need some initial steps. One of the most straightforward ways is to use the create-next-app package. To start:

  • Open the terminal and go to the directory where you will store your project. For example
    mkdir ~/nextjs-project && cd ~/nextjs-project
  • Then create your app in this folder; this will be your project root folder
    npx create-next-app@latest .
  • The following tutorial will assume you'll answer all questions with "yes". This means you'll have TypeScript, EsLint, Tailwind CSS, `src/` directory, experimental `app/` directory and import alias "@/".
    NextJS setup
  • When the installation has finished, you can start the server
    npm run dev

Use your favorite code editor to work with files in ~/nextjs-project. You will be able to make a contact form there.

Create the contact form component

Create a new file called ContactForm.tsx in the src/components/ folder. You can copy-paste the code below to get started quickly. Check HeroTofu's extensive forms library for other ready to use forms.

const FORM_ENDPOINT = 'https://herotofu.com/start'; // TODO - update to the correct endpoint

function ContactForm() {
  return (
    <div className="md:w-96 md:max-w-full w-full mx-auto">
      <div className="sm:rounded-md p-6 border border-gray-300">
        <form method="POST" action={FORM_ENDPOINT}>
          <label className="block mb-6">
            <span className="text-gray-700">Your name</span>
            <input
              type="text"
              name="name"
              className=" focus:border-indigo-300 focus:ring focus:ring-indigo-200 focus:ring-opacity-50 block w-full mt-1 border-gray-300 rounded-md shadow-sm"
              placeholder="Joe Bloggs"
            />
          </label>
          <label className="block mb-6">
            <span className="text-gray-700">Email address</span>
            <input
              name="email"
              type="email"
              className=" focus:border-indigo-300 focus:ring focus:ring-indigo-200 focus:ring-opacity-50 block w-full mt-1 border-gray-300 rounded-md shadow-sm"
              placeholder="joe.bloggs@example.com"
              required
            />
          </label>
          <label className="block mb-6">
            <span className="text-gray-700">Message</span>
            <textarea
              name="message"
              className=" focus:border-indigo-300 focus:ring focus:ring-indigo-200 focus:ring-opacity-50 block w-full mt-1 border-gray-300 rounded-md shadow-sm"
              rows={3}
              placeholder="Tell us what you're thinking about..."
            ></textarea>
          </label>
          <div className="mb-2">
            <button
              type="submit"
              className=" focus:shadow-outline hover:bg-indigo-800 h-10 px-5 text-indigo-100 transition-colors duration-150 bg-indigo-700 rounded-lg"
            >
              Contact Us
            </button>
          </div>
        </form>
      </div>
    </div>
  );
}

export default ContactForm;

Write the form hook to handle submissions

Once your static component is ready, let's write a custom hook that will handle your form submissions.

Add this function to the top of your file. Explore the code below to see how it works.

function useContactForm() {
  const [status, setStatus] = useState<string>();

  const handleFormSubmit: React.FormEventHandler = (e) => {
    e.preventDefault();
    const form = e.currentTarget as HTMLFormElement;

    const injectedData: Record<string, string | number> = {
      // Here you can specify anything you need to inject dynamically, outside the form. For example:
      // DYNAMIC_DATA_EXAMPLE: 123,
    };

    const inputs = Array.from(form.elements) as HTMLFormElement[];
    const data = inputs
      .filter((input) => input.name)
      .reduce((obj, input) => Object.assign(obj, { [input.name]: input.value }), {} as Record<string, string>);

    Object.assign(data, injectedData);

    fetch(FORM_ENDPOINT, {
      method: 'POST',
      headers: {
        Accept: 'application/json',
        'Content-Type': 'application/json',
      },
      body: JSON.stringify(data),
    })
      .then((response) => {
        // It's likely a spam/bot submission, so bypass it to validate via captcha challenge old-school style
        if (response.status === 422) {
          // Append dynamically generated keys back to the form
          Object.keys(injectedData).forEach((key) => {
            const el = document.createElement('input');
            el.type = 'hidden';
            el.name = key;
            el.value = injectedData[key].toString();

            form.appendChild(el);
          });

          // Let's submit the form again and spammer/bot will be redirected to another page automatically
          // Submitting via javascript will bypass calling this function again
          form.setAttribute('target', '_blank');
          form.submit();

          throw new Error('Please finish the captcha challenge');
        }

        if (response.status !== 200) {
          throw new Error(response.statusText);
        }

        return response.json();
      })
      .then(() => setStatus("We'll be in touch soon."))
      .catch((err) => setStatus(err.toString()));
  };

  return { status, handleFormSubmit };
}

// Here goes the rest of the code...

Then, adjust the Form component to use the hook with new `status` and `handleFormSubmit` variables.

function ContactForm() {
  const { status, handleFormSubmit } = useContactForm();

  if (status) {
    return (
      <div className="md:w-96 md:max-w-full w-full mx-auto">
        <div className="sm:rounded-md p-6 border border-gray-300">
          <div className="text-2xl">Thank you!</div>
          <div className="text-md">{status}</div>
        </div>
      </div>
    );
  }

  return (
    <div className="md:w-96 md:max-w-full w-full mx-auto">
      <div className="sm:rounded-md p-6 border border-gray-300">
        <form method="POST" action={FORM_ENDPOINT} onSubmit={handleFormSubmit}>

  // Here goes the rest of the code...

Click here for a full code example with component and hook.

Embed form into your app

Open any page you want to see the form and insert the newly created form component. It will work for old pages and the new app directory (don't forget the "use client" directive if using app directory).

import ContactForm from '../components/ContactForm';

function Page() {
  return <ContactForm />;
}

export default Page;

Create the free HeroTofu forms backend

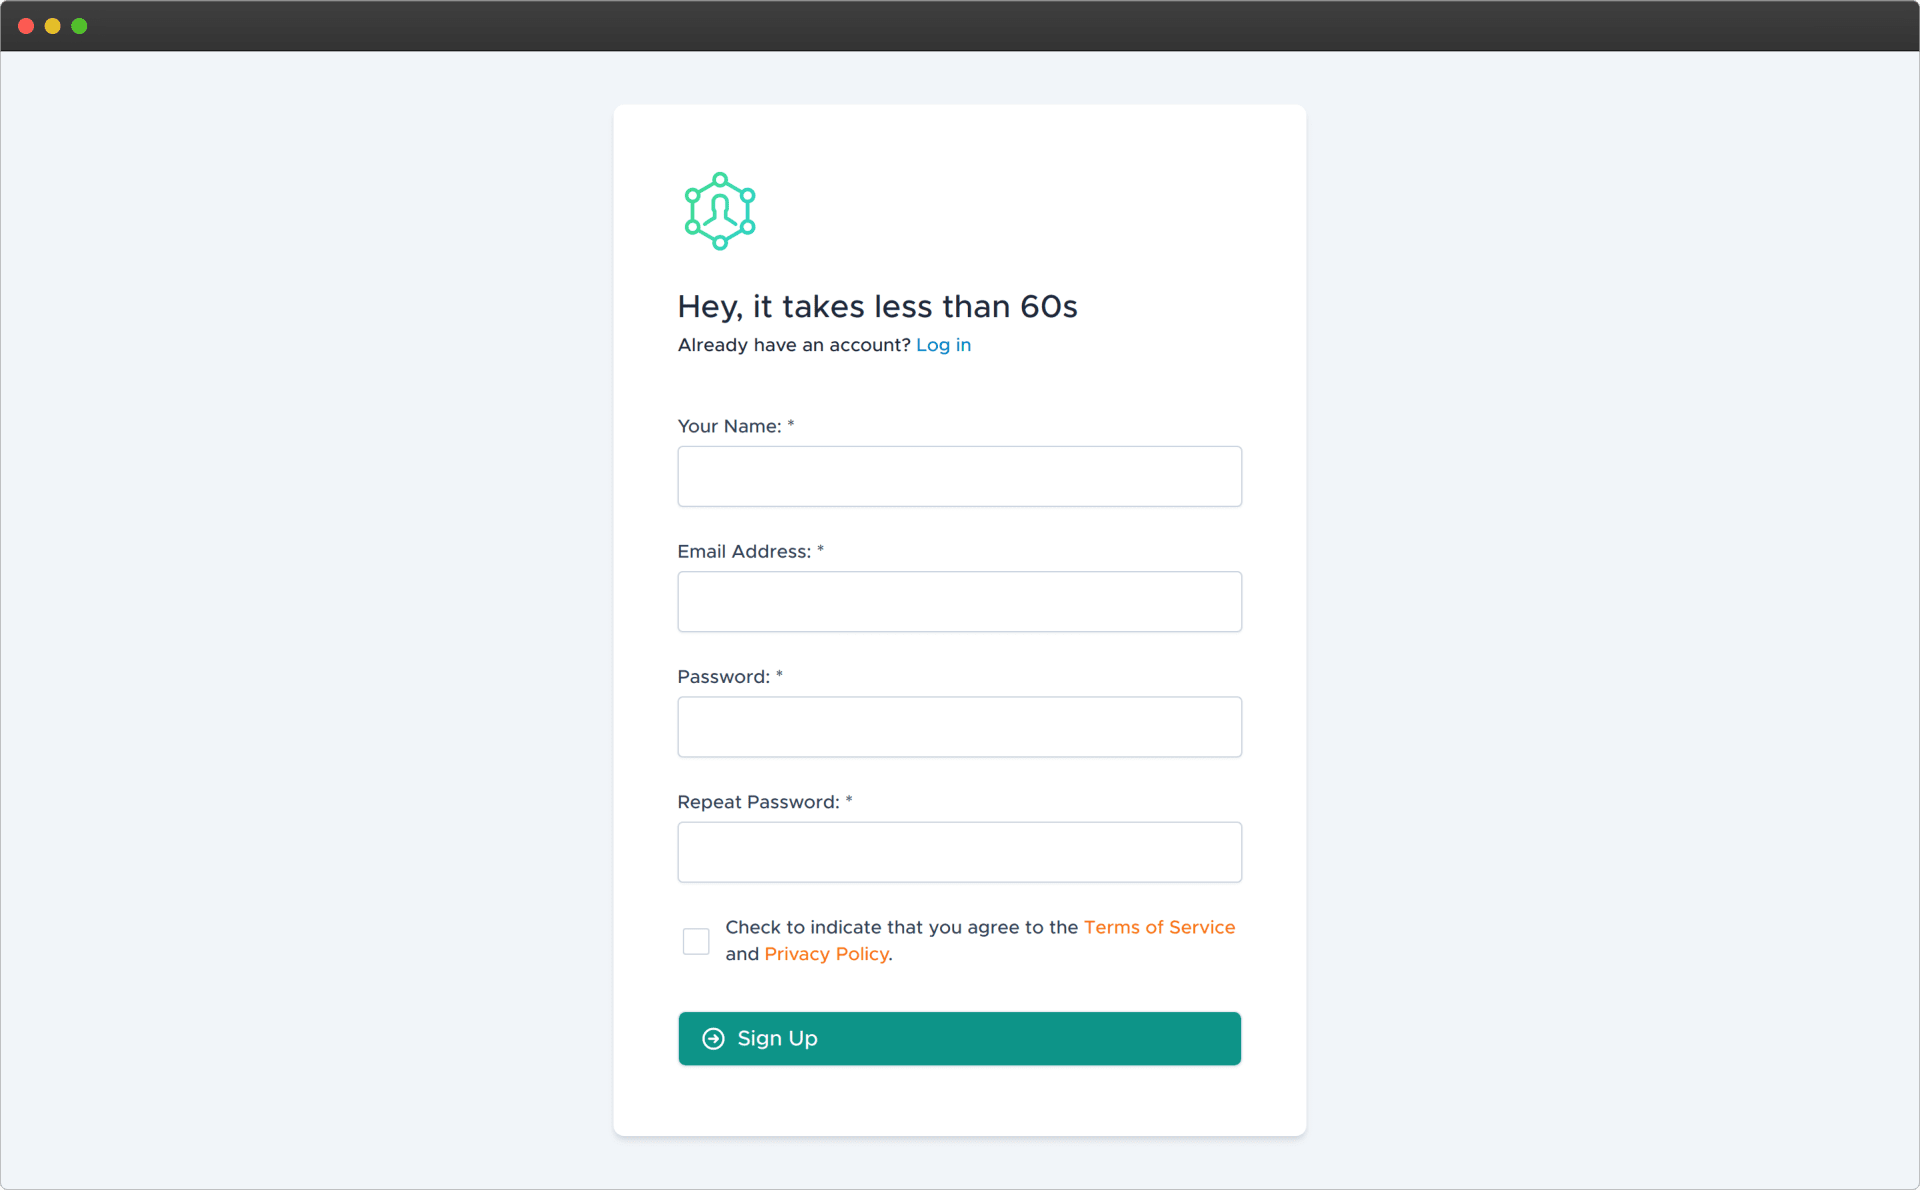
Head over to herotofu.com and create an account. It will handle all the boring and complex form submission process work for you. You'll get 14 days of the free trial at first, and later you can leave it with the free forever plan. For vast majority of people, free plan is usually more than enough.

HeroTofu registration is straightforward. Fill in the basic fields and then confirm your email address.

Herotofu signup

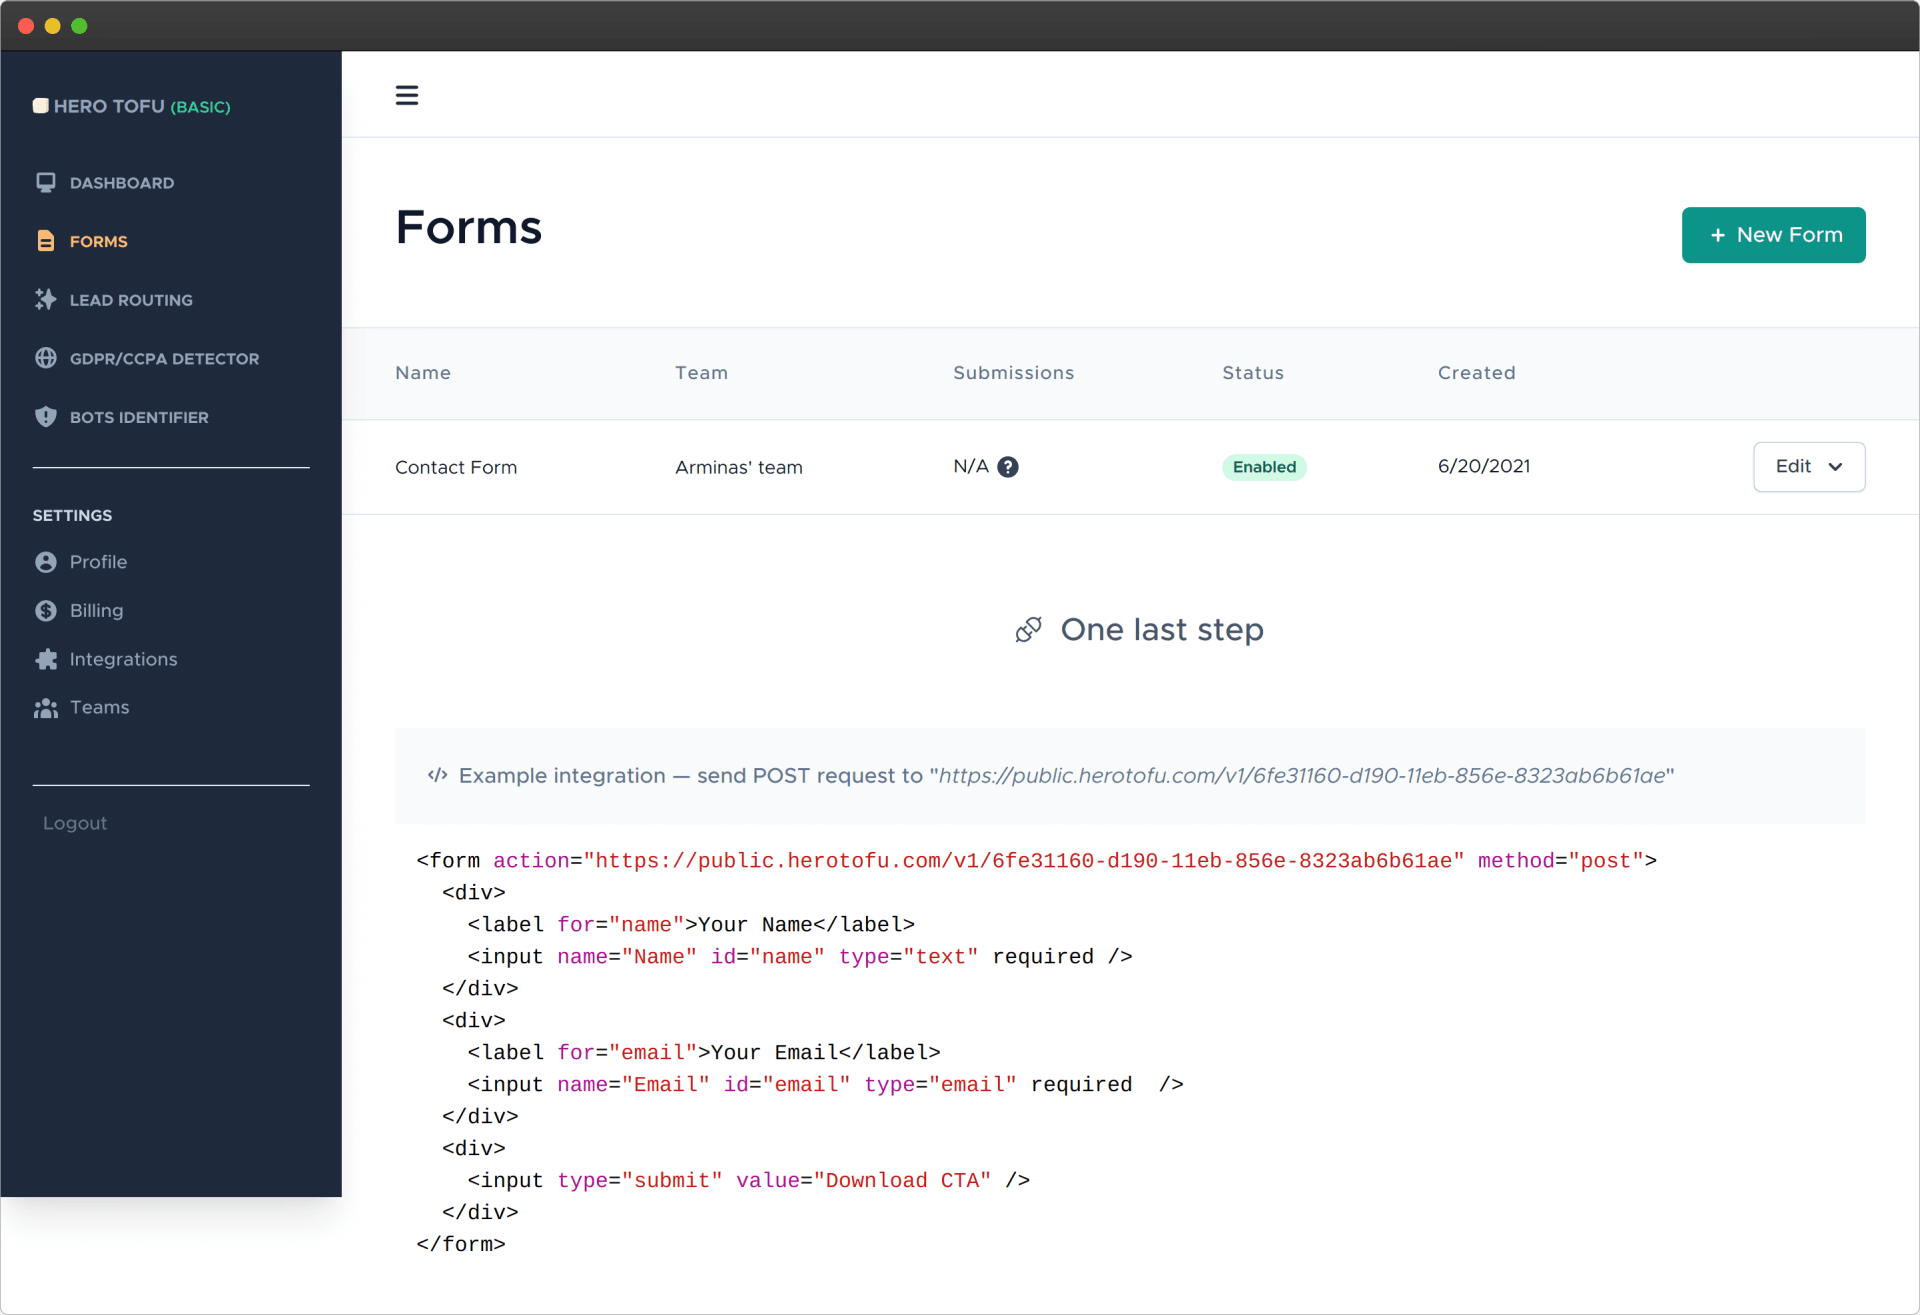
Once you have confirmed your email address, go to app.herotofu.com/forms to create your first form. Fill in the form name and add your preferred email address where you'd like to receive your form submits. Slack and Zapier are also options, but you need to pay for them once the trial is over.

You'll get the form endpoint URL once you hit submit, so remember to copy it.

Herotofu Forms List

Use the created forms backend in your contact form

Once again, open the ContactForm.tsx file and fill in the form endpoint URL. You need to change the FORM_ENDPOINT variable at the top of the file. It should look like this.

import React, { useState } from 'react';

const FORM_ENDPOINT = 'https://public.herotofu.com/v1/EXAMPLE_FORM_ID';

// Here goes the rest of the code...

Done! Go ahead and test your form submission! You don't need to do any backend email work, as HeroTofu will handle everything.

Bonus: it's not only a forms endpoint

HeroTofu accepts regular form submissions, multipart file uploads, and JSON payloads. So you can create javascript objects and send them via fetch() to the endpoint. When you send a JSON payload, don't forget to set the correct JSON headers, and HeroTofu will respond with the needed status codes. Here's what it could look like in practice (codepen link here).

import { useCallback, useState } from 'react';

function useEmail(endpointUrl: string) {
  const [submitted, setSubmitted] = useState(false);
  const [loading, setLoading] = useState(false);
  const [error, setError] = useState();

  const sendEmail = useCallback(
    (data: unknown) => {
      setLoading(true);
      setSubmitted(false);
      setError(undefined);

      fetch(endpointUrl, {
        method: 'POST',
        headers: {
          Accept: 'application/json',
          'Content-Type': 'application/json',
        },
        body: JSON.stringify(data),
      })
        .then((response) => {
          // Endpoint thinks that it's likely a spam/bot request, you need to change "spam protection mode" to "never" in HeroTofu forms
          if (response.status === 422) {
            throw new Error('Are you robot?');
          }

          if (response.status !== 200) {
            throw new Error(`${response.statusText} (${response.status})`);
          }

          return response.json();
        })
        .then(() => {
          setSubmitted(true);
        })
        .catch((err) => {
          setError(err.toString());
        })
        .finally(() => {
          setLoading(false);
        });
    },
    [endpointUrl]
  );

  return {
    submitted,
    loading,
    error,
    sendEmail,
  };
}

export default useEmail;

Treat it as a REST API because as long as you're sending POST, you'll be good to go. Your react form submission will reach your inbox.