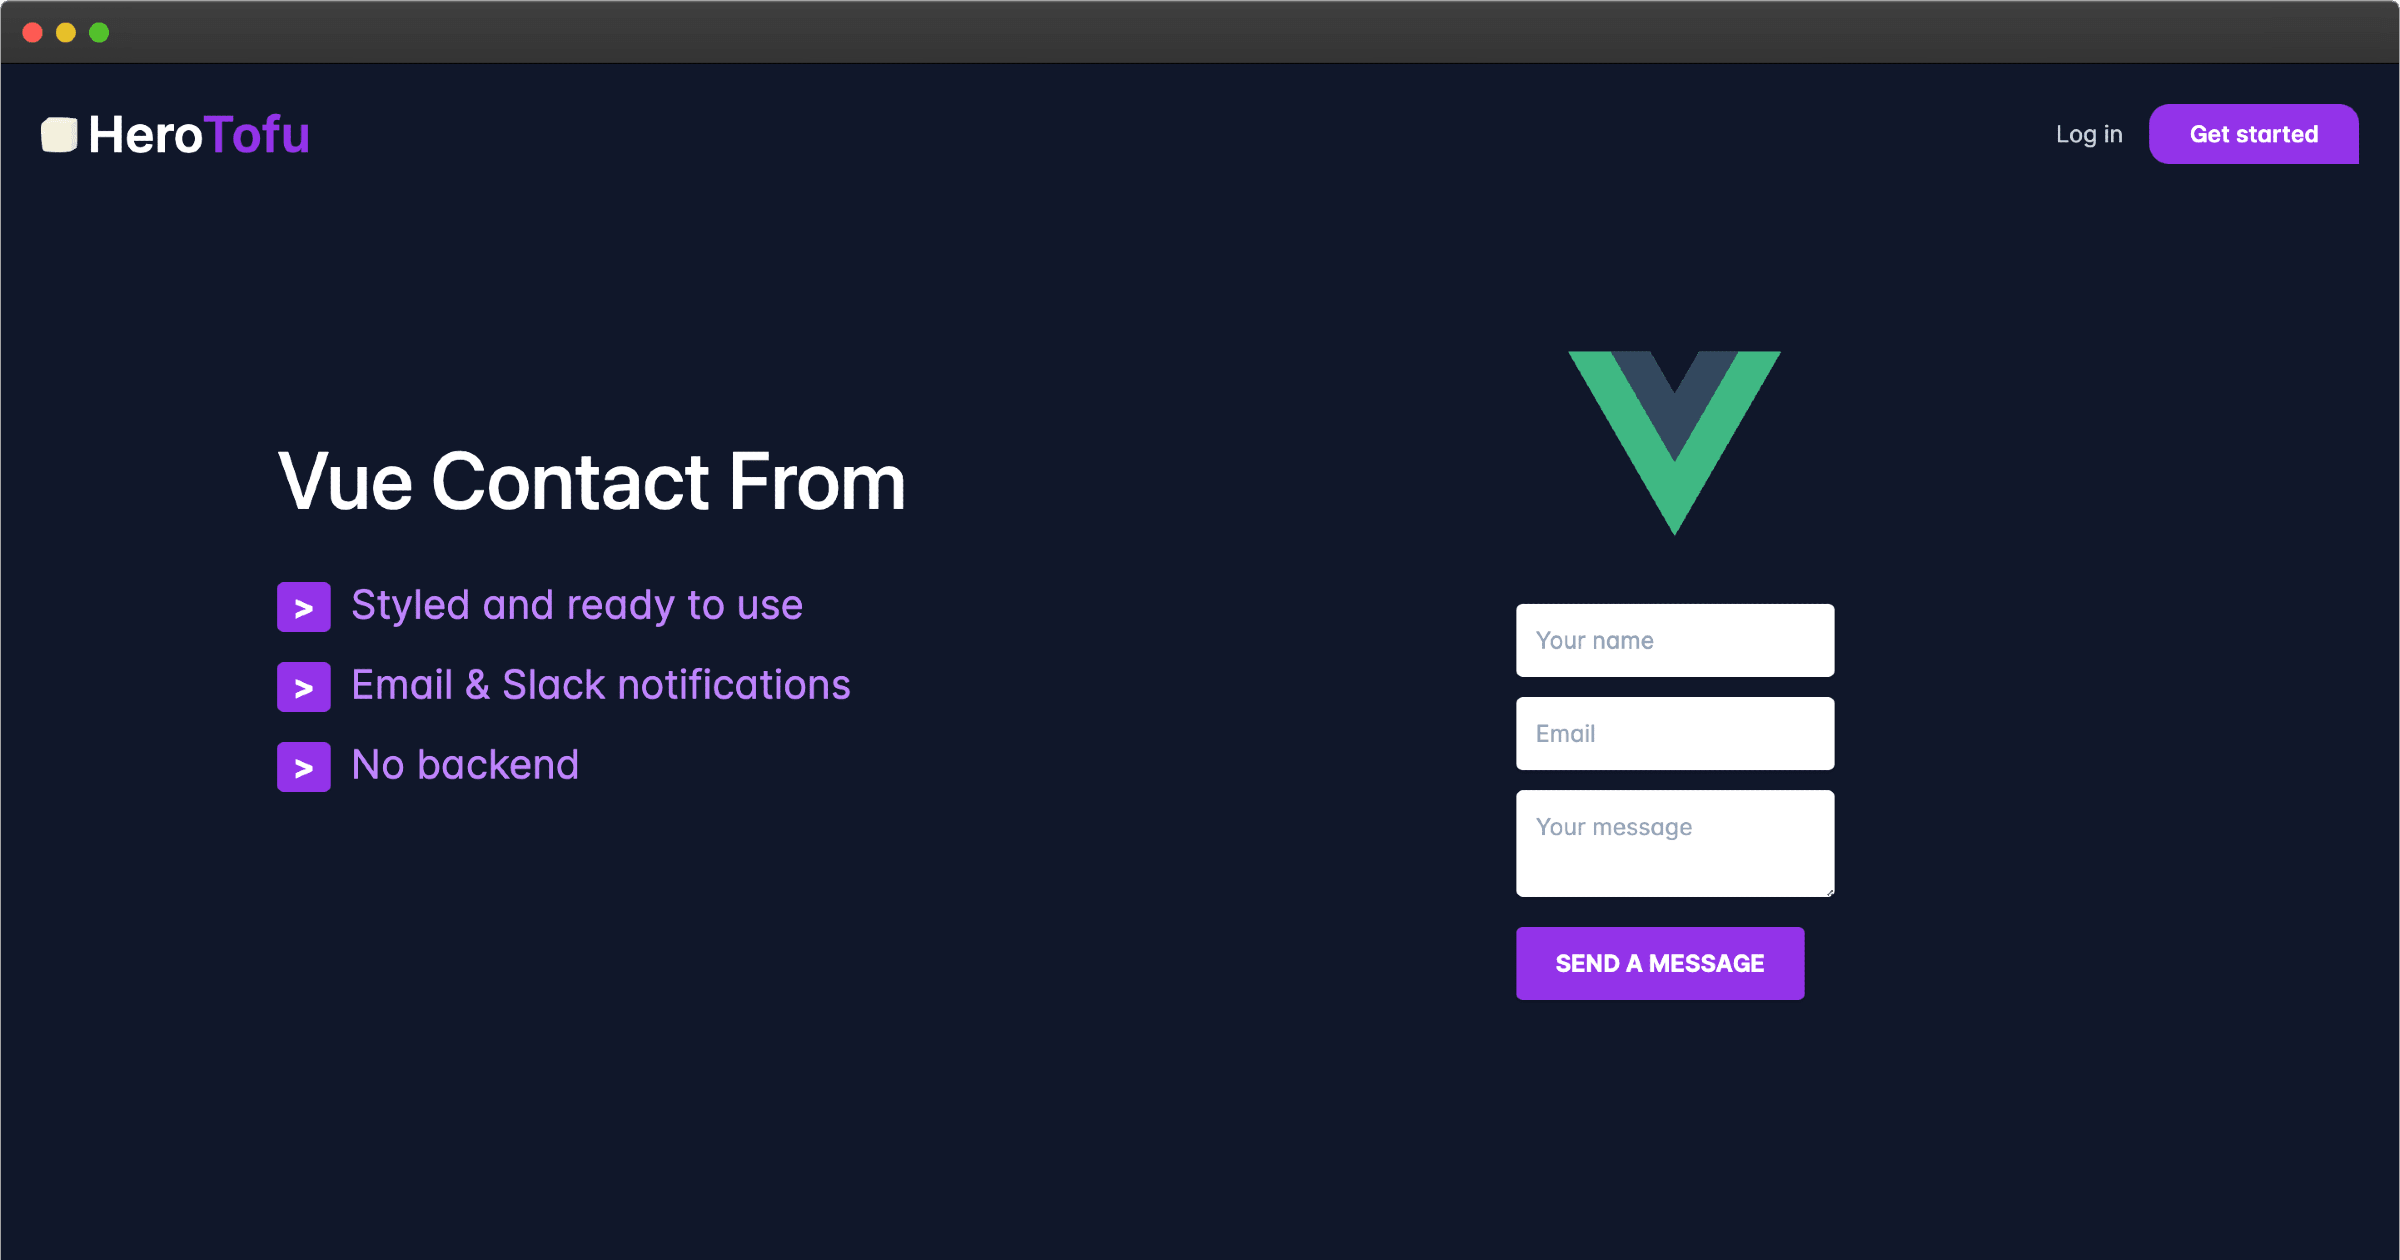
This guide will show you how to make a nice-looking and elegant form with Vue. Contact form creation in Vue shouldn't be a tedious task if you're working on a static/jamstack site.
Often, different guides suggest using backend NodeJS/PHP servers for storing/emailing data. But it's not an absolute rule if you think smart, and your codebase can be a lot cleaner with the fronted-only code.
In case you're starting a brand new project, you'll need some initial steps. One of the most straightforward ways is to use the create-vue-app package. To start:
npm install @vue/cli --global
vue create vue-project
cd ~/vue-project
npm run serve
Use your favorite code editor to work with files in ~/vue-project/src. You will be able to make a contact form there.
Please keep in mind that the TailwindCSS example is for demo purposes only, for the production please refer to the TailwindCSS installation.
Open App.vue in your src folder.
1<template>
2 <div class="app-advanced p-10">
3 <img class="mx-auto" alt="Vue logo" src="../assets/logo.png" />
4
5 <form
6 :action="FORM_ENDPOINT"
7 @submit="handleSubmit"
8 method="POST"
9 class="w-1/2 mx-auto mt-5"
10 >
11 <div class="mb-3 pt-0">
12 <input
13 type="text"
14 placeholder="Your name"
15 name="name"
16 class="
17 px-3
18 py-3
19 placeholder-gray-400
20 text-gray-600
21 relative
22 bg-white bg-white
23 rounded
24 text-sm
25 border-0
26 shadow
27 outline-none
28 focus:outline-none
29 focus:ring
30 w-full
31 "
32 required
33 />
34 </div>
35
36 <div class="mb-3 pt-0">
37 <input
38 type="email"
39 placeholder="Email"
40 name="email"
41 class="
42 px-3
43 py-3
44 placeholder-gray-400
45 text-gray-600
46 relative
47 bg-white bg-white
48 rounded
49 text-sm
50 border-0
51 shadow
52 outline-none
53 focus:outline-none
54 focus:ring
55 w-full
56 "
57 required
58 />
59 </div>
60
61 <div class="mb-3 pt-0">
62 <textarea
63 placeholder="Your message"
64 name="message"
65 class="
66 px-3
67 py-3
68 placeholder-gray-400
69 text-gray-600
70 relative
71 bg-white bg-white
72 rounded
73 text-sm
74 border-0
75 shadow
76 outline-none
77 focus:outline-none
78 focus:ring
79 w-full
80 "
81 required
82 />
83 </div>
84
85 <div class="mb-3 pt-0">
86 <button
87 class="
88 bg-blue-500
89 text-white
90 active:bg-blue-600
91 font-bold
92 uppercase
93 text-sm
94 px-6
95 py-3
96 rounded
97 shadow
98 hover:shadow-lg
99 outline-none
100 focus:outline-none
101 mr-1
102 mb-1
103 ease-linear
104 transition-all
105 duration-150
106 "
107 type="submit"
108 >
109 Send a message
110 </button>
111 </div>
112 </form>
113
114 <div v-if="submitted" class="text-center mt-10">
115 <h2 class="text-2xl">Thanks you!</h2>
116 <div class="text-md">We'll be in touch soon.</div>
117 </div>
118 </div>
119</template>
120
121<script>
122export default {
123 name: "App",
124 data: () => ({
125 submitted: false,
126 FORM_ENDPOINT: endpointUrl,
127 }),
128
129 methods: {
130 handleSubmit() {
131 setTimeout(() => {
132 this.submitted = true;
133 }, 100);
134 },
135 },
136
137 // To Add Tailwind
138 beforeCreate() {
139 if (document) {
140 const stylesheet = document.createElement("link");
141 stylesheet.rel = "stylesheet";
142 stylesheet.href =
143 "https://unpkg.com/tailwindcss@^2/dist/tailwind.min.css";
144
145 document.head.appendChild(stylesheet);
146 }
147 },
148};
149</script>
Head over to herotofu.com and create an account. It will handle all the boring and complex form submission process work for you. You'll get 14 days of the free trial at first, and later you can leave it with the free forever plan. For the sole purpose of the contact form, it's usually more than enough.
HeroTofu registration is straightforward. Fill in the basic fields and then confirm your email address.
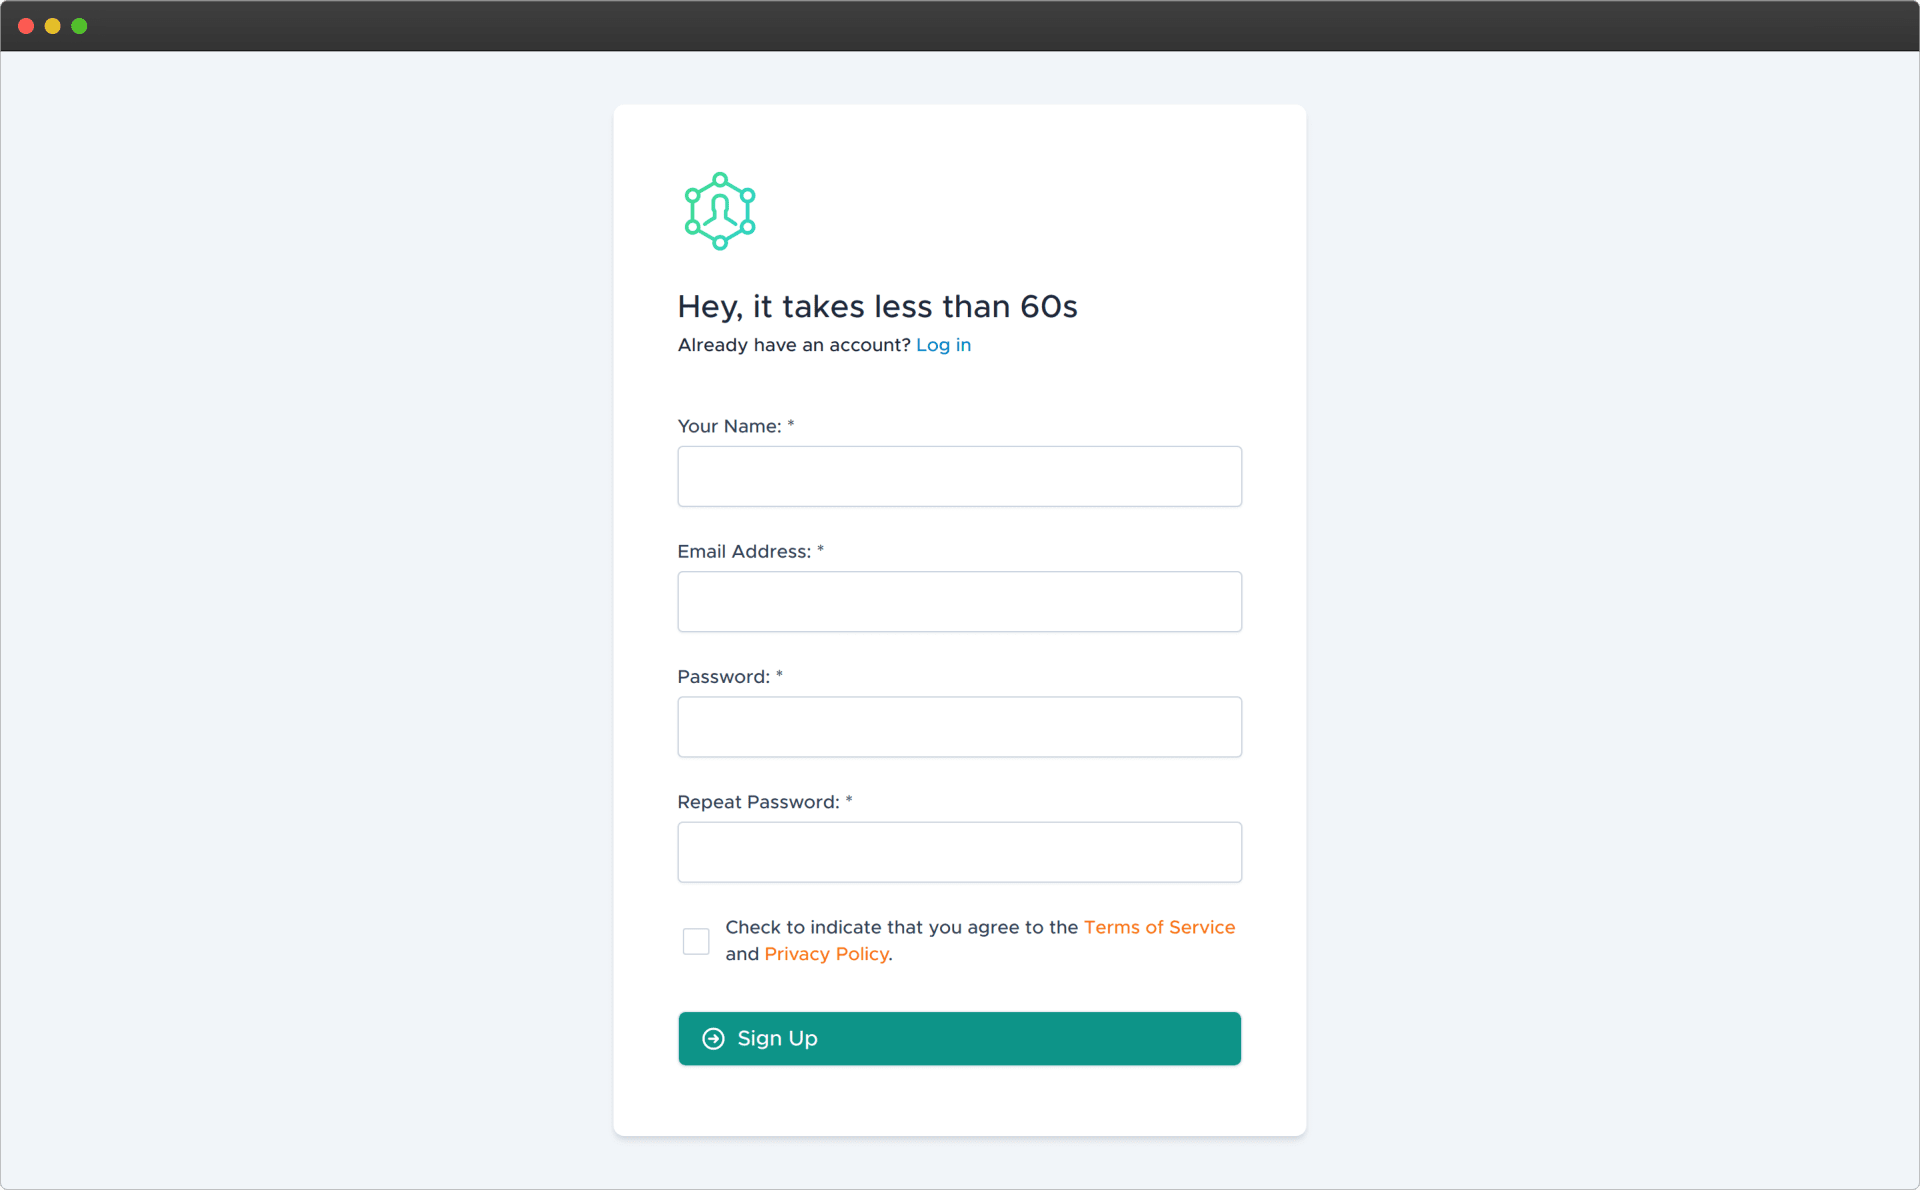
Once you have confirmed your email address, go to app.herotofu.com/forms to create your first form. Fill in the form name and add your preferred email address where you'd like to receive your form submits. Slack and Zapier are also options, but you need to pay for them once the trial is over.
You'll get the form endpoint URL once you hit submit, so remember to copy it.
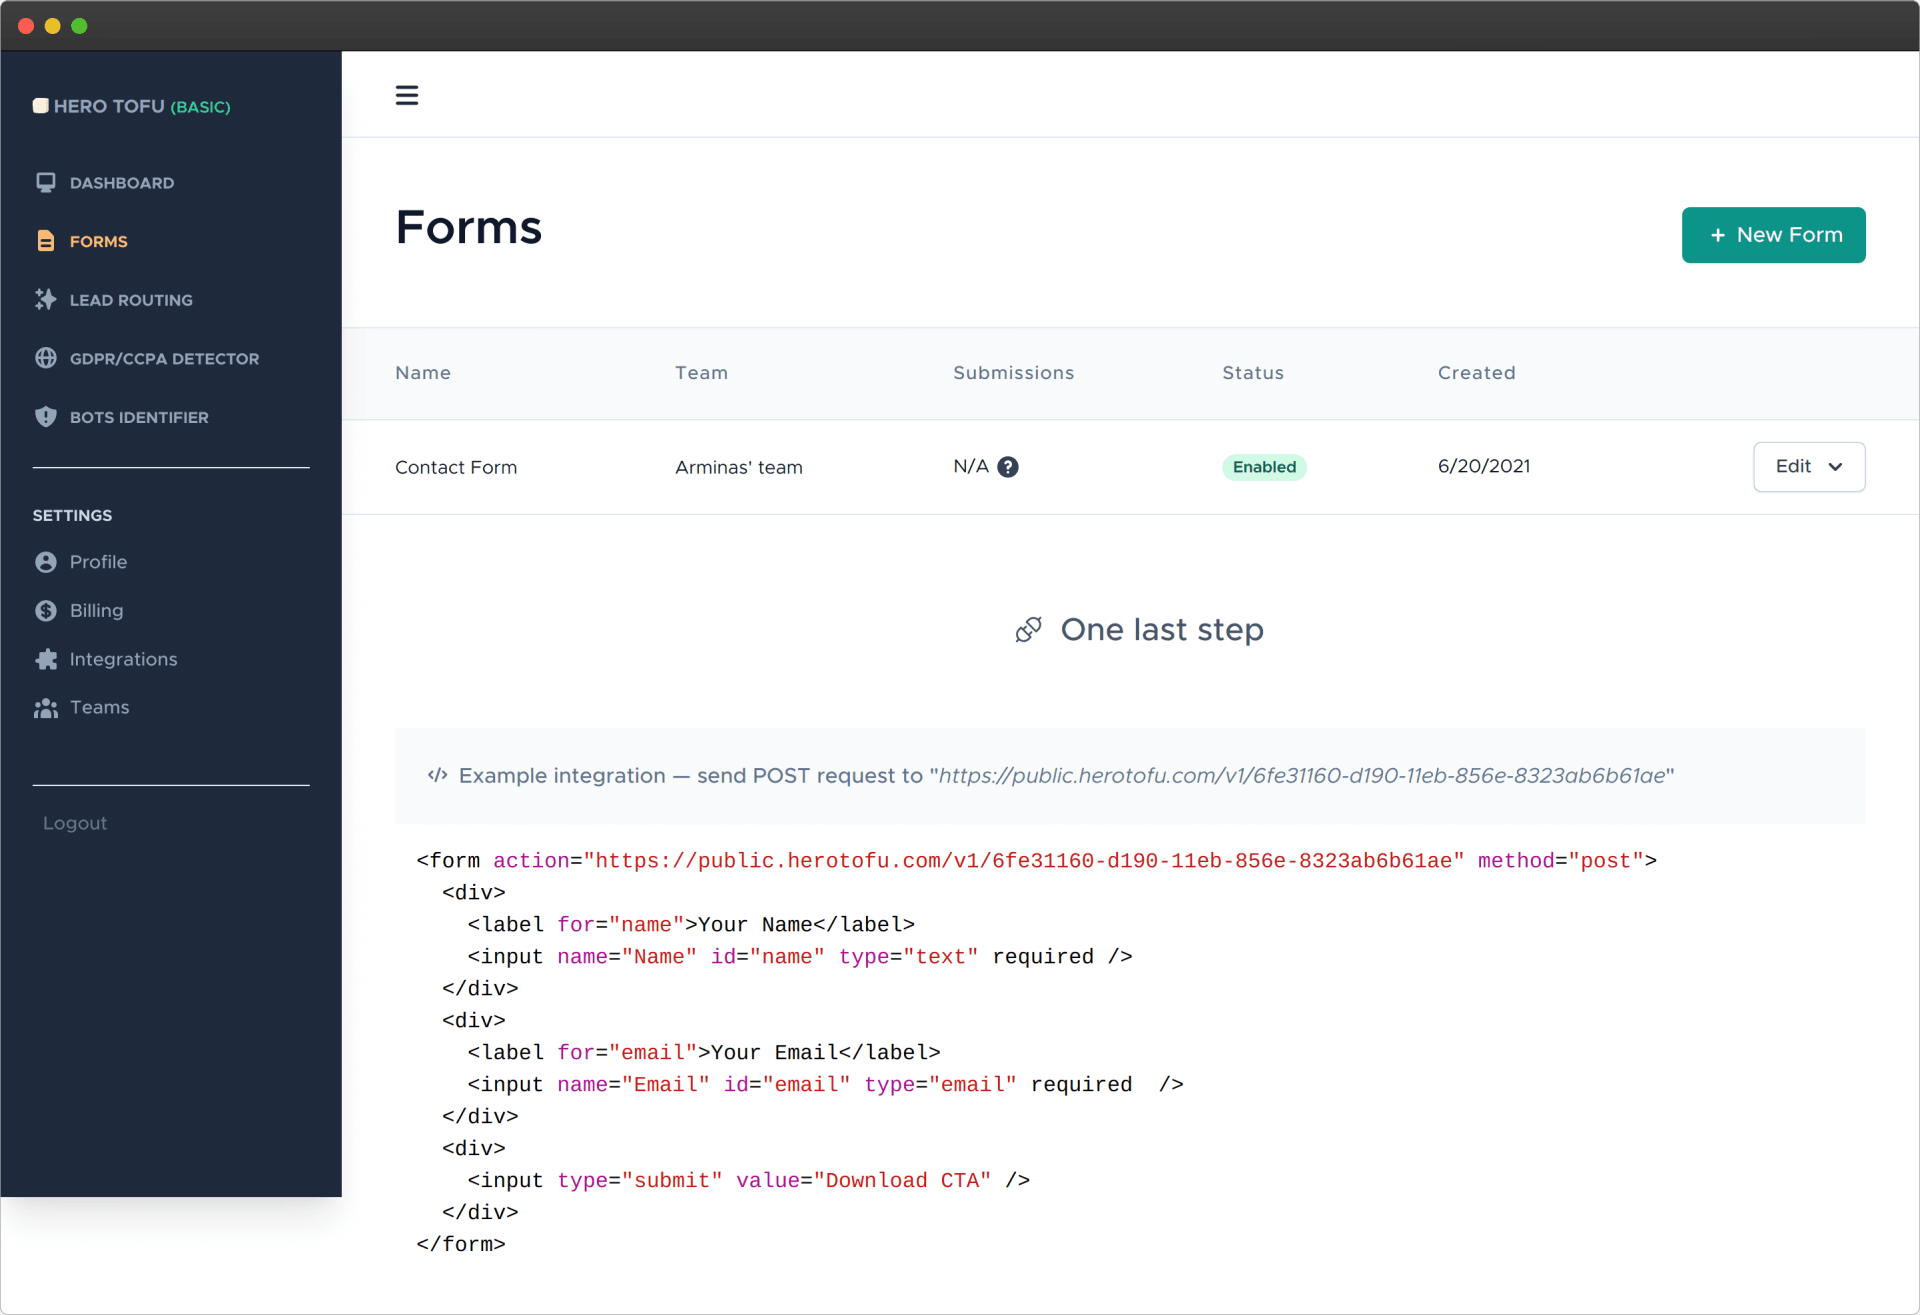
Once again, open the App.vue file and fill in the form endpoint URL. You need to change the FORM_ENDPOINT variable.
Done! Go ahead and test your contact form submission! You don't need to do any backend email work, as HeroTofu will handle everything.
As you can see, the implementation is basic, and you only get those fields on the contact form that are visible on the HTML. That might not work if you need a more customized flow. You'll need to adjust the handleSubmit handler function to inject extra data dynamically. Good examples could be the user id, the selected plan, or some meta-information of site usage. It should make an ajax call to the FORM_ENDPOINT instead of the regular form submits. Here's how it could look like in practice.
1<template>
2 <div class="app-advanced p-10">
3 <img class="mx-auto" alt="Vue logo" src="../assets/logo.png" />
4
5 <form
6 :action="FORM_ENDPOINT"
7 @submit="handleSubmit"
8 method="POST"
9 class="w-1/2 mx-auto mt-5"
10 >
11 <div class="mb-3 pt-0">
12 <input
13 type="text"
14 placeholder="Your name"
15 name="name"
16 class="
17 px-3
18 py-3
19 placeholder-gray-400
20 text-gray-600
21 relative
22 bg-white bg-white
23 rounded
24 text-sm
25 border-0
26 shadow
27 outline-none
28 focus:outline-none
29 focus:ring
30 w-full
31 "
32 required
33 />
34 </div>
35
36 <div class="mb-3 pt-0">
37 <input
38 type="email"
39 placeholder="Email"
40 name="email"
41 class="
42 px-3
43 py-3
44 placeholder-gray-400
45 text-gray-600
46 relative
47 bg-white bg-white
48 rounded
49 text-sm
50 border-0
51 shadow
52 outline-none
53 focus:outline-none
54 focus:ring
55 w-full
56 "
57 required
58 />
59 </div>
60
61 <div class="mb-3 pt-0">
62 <textarea
63 placeholder="Your message"
64 name="message"
65 class="
66 px-3
67 py-3
68 placeholder-gray-400
69 text-gray-600
70 relative
71 bg-white bg-white
72 rounded
73 text-sm
74 border-0
75 shadow
76 outline-none
77 focus:outline-none
78 focus:ring
79 w-full
80 "
81 required
82 />
83 </div>
84
85 <div class="mb-3 pt-0">
86 <button
87 class="
88 bg-blue-500
89 text-white
90 active:bg-blue-600
91 font-bold
92 uppercase
93 text-sm
94 px-6
95 py-3
96 rounded
97 shadow
98 hover:shadow-lg
99 outline-none
100 focus:outline-none
101 mr-1
102 mb-1
103 ease-linear
104 transition-all
105 duration-150
106 "
107 type="submit"
108 >
109 Send a message
110 </button>
111 </div>
112 </form>
113
114 <div v-if="status" class="text-center mt-10">
115 <h2 class="text-2xl">Thanks you!</h2>
116 <div class="text-md">{{ status }}</div>
117 </div>
118 </div>
119</template>
120
121<script>
122import { ref } from "vue";
123export default {
124 setup() {
125 const FORM_ENDPOINT = ref(endpointUrl);
126 const status = ref();
127
128 function handleSubmit(e) {
129 e.preventDefault();
130
131 // Anything you need to inject dynamically
132 const injectedData = {
133 DYNAMIC_DATA_EXAMPLE: 123,
134 };
135
136 const inputs = e.target.elements;
137 const data = {};
138
139 inputs.forEach((inp) => {
140 if (inp.name) {
141 data[inp.name] = inp.value;
142 }
143 });
144
145 Object.assign(data, injectedData);
146
147 fetch(FORM_ENDPOINT.value, {
148 method: "POST",
149 headers: {
150 Accept: "application/json",
151 "Content-Type": "application/json",
152 },
153 body: JSON.stringify(data),
154 })
155 .then((response) => {
156 // It's likely a spam/bot request, so bypass it to validate via captcha
157 if (response.status === 422) {
158 Object.keys(injectedData).forEach((key) => {
159 const el = document.createElement("input");
160 el.type = "hidden";
161 el.name = key;
162 el.value = injectedData[key];
163
164 e.target.appendChild(el);
165 });
166
167 e.target.submit();
168 throw new Error("Please finish the captcha challenge");
169 }
170
171 if (response.status !== 200) {
172 throw new Error(response.statusText);
173 }
174
175 return response.json();
176 })
177 .then(() => (status.value = "We'll be in touch soon."))
178 .catch((err) => (status.value = err.toString()));
179 }
180
181 return { status, handleSubmit, FORM_ENDPOINT };
182 },
183
184 // To Add Tailwind
185 beforeCreate() {
186 if (document) {
187 const stylesheet = document.createElement("link");
188 stylesheet.rel = "stylesheet";
189 stylesheet.href =
190 "https://unpkg.com/tailwindcss@^2/dist/tailwind.min.css";
191
192 document.head.appendChild(stylesheet);
193 }
194 },
195};
196</script>
The core idea is that you send a POST request to the FORM_ENDPOINT of your contact form. But it doesn't matter which way you do it. It can be a regular form submit with ajax handler upon form submission or a completely different request that doesn't involve HTML forms at all
Treat it as a REST API because as long as you're sending POST, you'll be good to go. Your vue form submission will reach your inbox.