jQuery Send Email Guide

(Free And Without Backend)
jQuery Send Email

jQuery is a client-side library that is designed to run in browsers. Because of that, it has some limitations. One of them is that you can't do things like sending emails via frontend.

This guide will show you how to overcome that.

P.S. If you want to know how to send form data (such as contact form fields), you can read the HTML Contact Form guide.

Create the email function inside of jQuery App

You'll send the email on that function. We’ll need to get two arguments for it to work: endpoint URL and "data." Then, a simple POST request and returning the state with the response of that request. See the sample code.

1function sendEmail(endpointUrl, data, onSuccess, onError) {
2  $.ajax({
3      type: "POST",
4      url: endpointUrl
5      data: JSON.stringify(data),
6      contentType: "application/json; charset=utf-8",
7      dataType: "json",
8      success: onSuccess,
9      error: function(xhr, status) {
10        if (typeof this.statusCode[xhr.status] !== 'undefined') {
11          return false;
12        }
13
14        onError(err);
15      },
16      statusCode: {
17        // Endpoint thinks that it's likely a spam/bot request, you need to change "spam protection mode" to "never" in HeroTofu forms
18        422: function(response) {
19          alert("Cannot send request, are you robot?");
20        },
21      }
22    });
23}

Signup for the free HeroTofu account

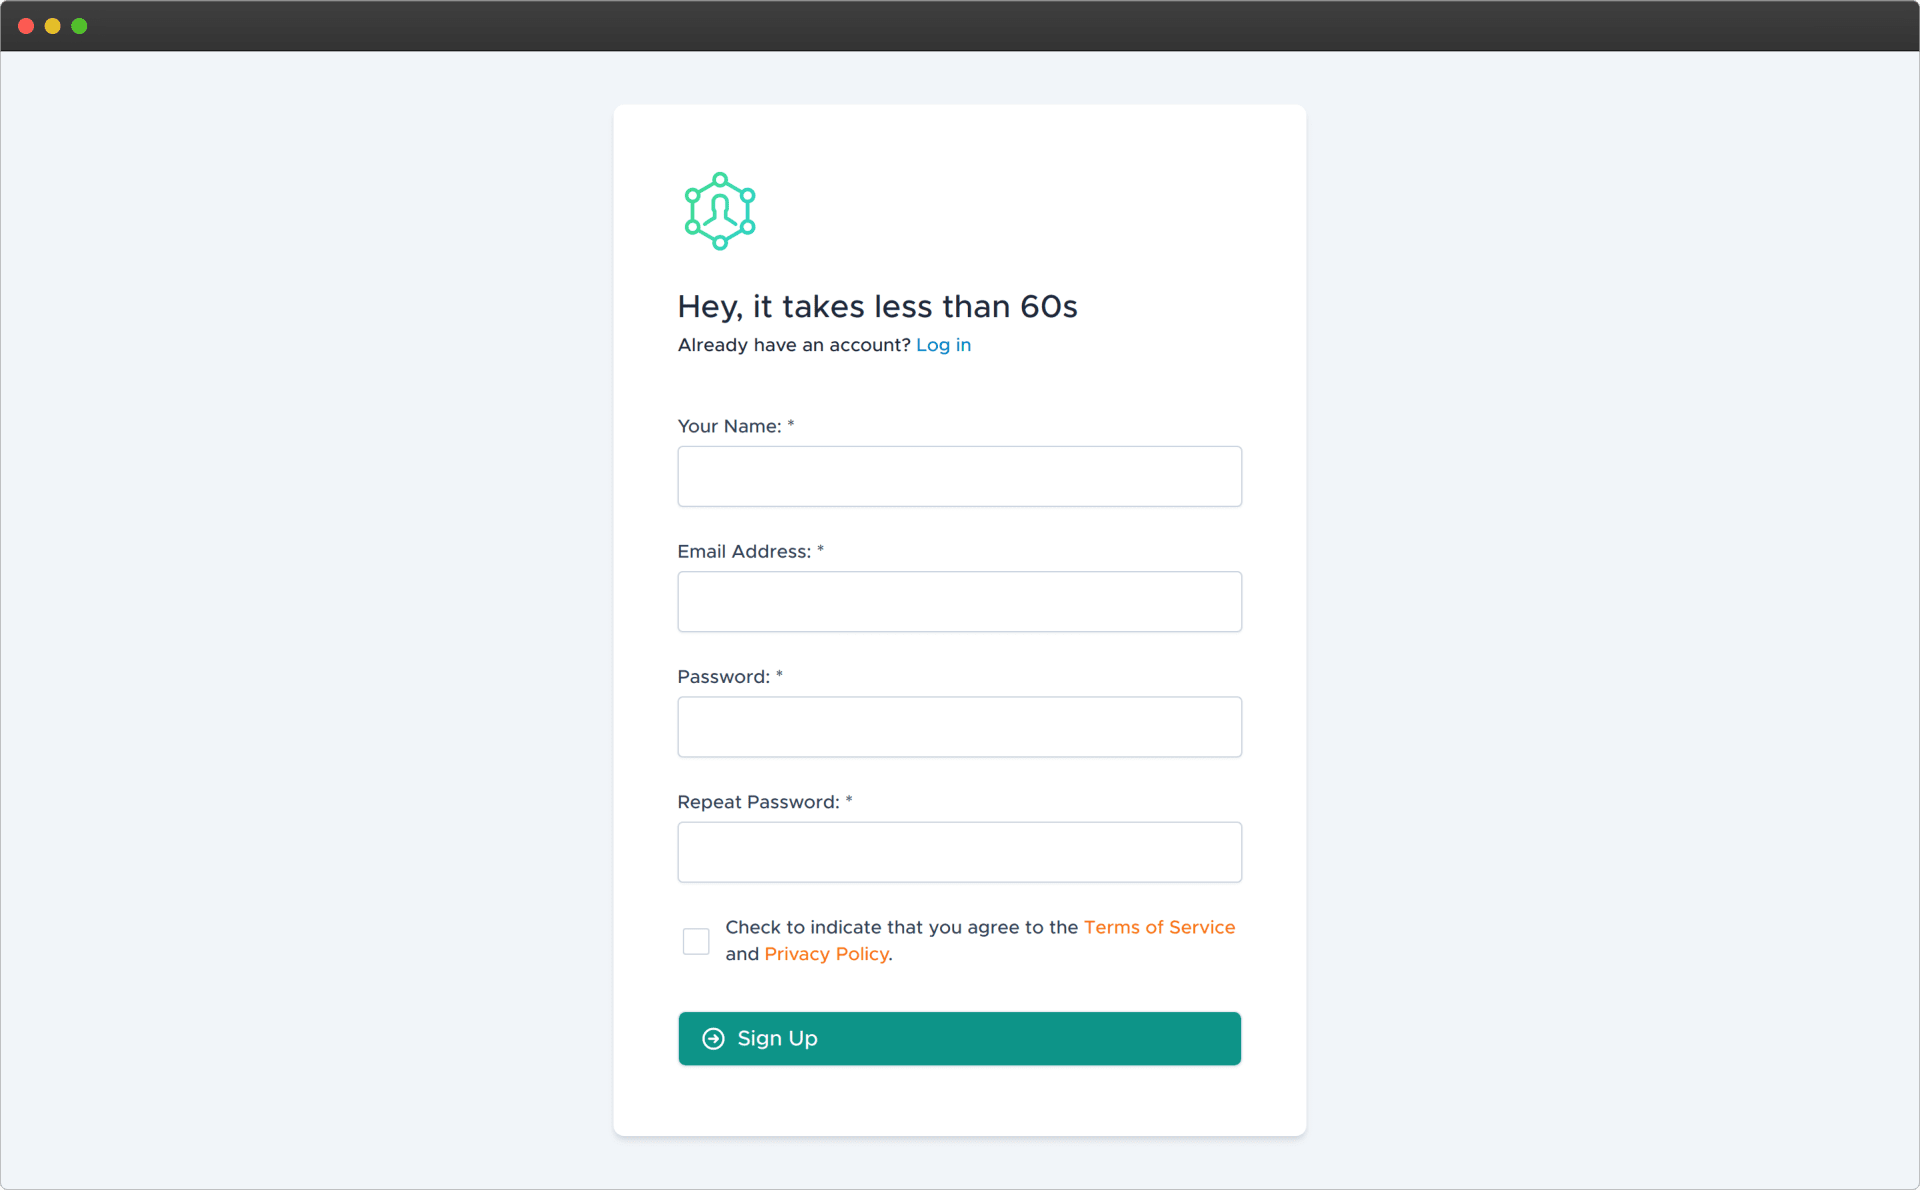
To create an account, go to herotofu.com . It is capable of handling all the complex email sending work. You can take the 14-day free trial and then leave it in the free forever plan. It's usually more than enough for small websites.

The registration is easy. After filling in the primary fields, you should receive an email confirmation.
Herotofu signup

Create a new backend, set your email, spam protection

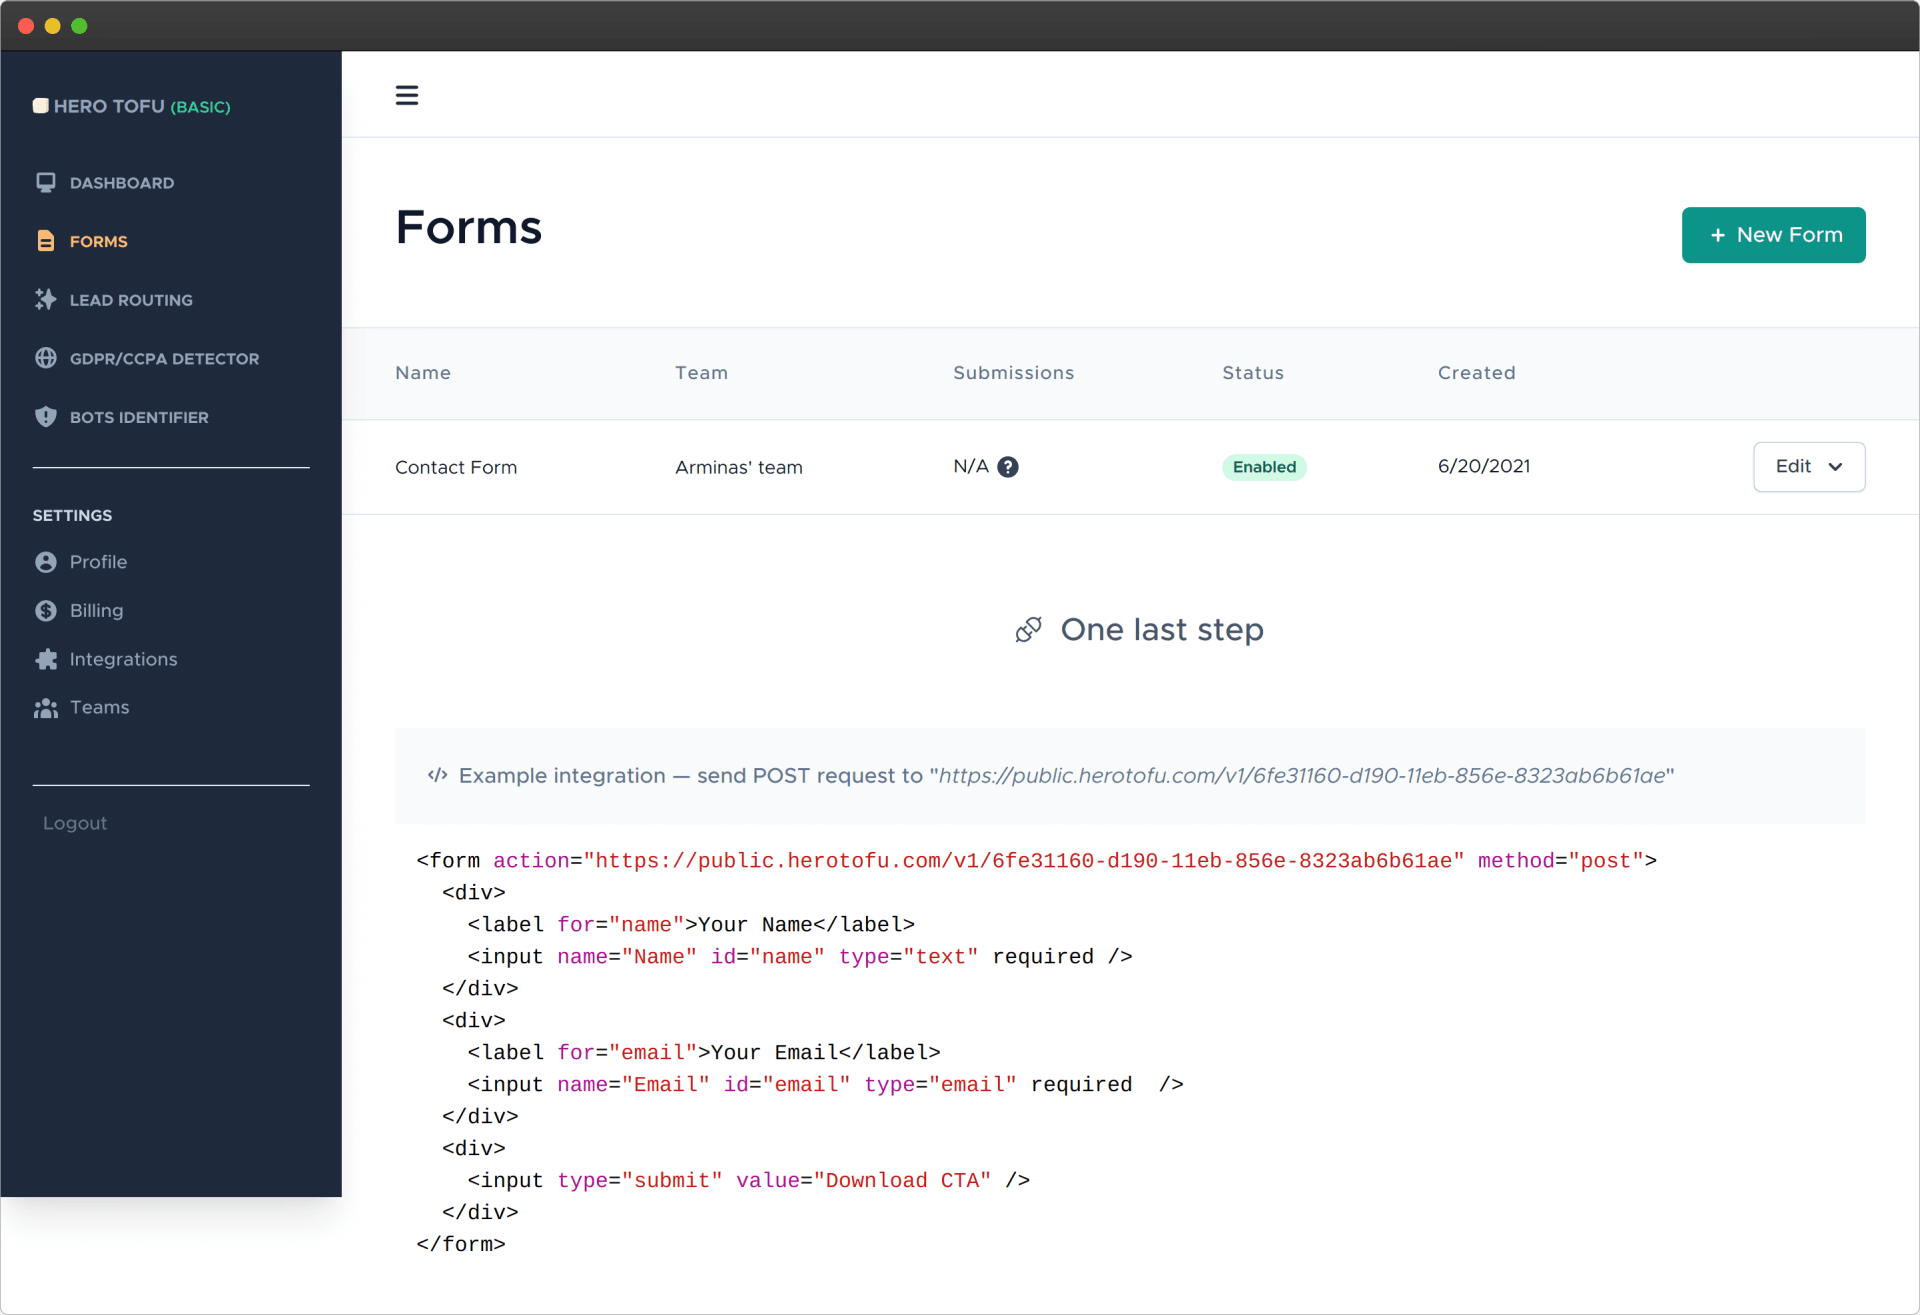
Go to app.herotofu.com/forms to make your first form after you have confirmed your email address. In this case, the form will function as our API backend/endpoint. Attach your preferred email address where you'd like to receive your data submits. Be sure to select spam protection as "never." You'll be sending API requests yourself, so they shouldn't ever be detected as spam by HeroTofu.

Remember to copy the endpoint URL once you hit submit.
Herotofu Forms List

Call the created function, pass some data

The last step is implementation. Call your created function with the endpoint URL and actual data. HeroTofu will forward that data to your email.

1var onSuccess = function(response) {
2  alert("Success!");
3  console.log(response);
4};
5
6var onError = function(err) {
7  alert("Error!");
8  console.error(err);
9};
10
11// TODO: replace the endpoint url with your own
12sendEmail("https://herotofu.com/start", {
13  example_user: "user@example.com",
14  example_data: new Date().toISOString(),
15}, onSuccess, onError);
16
17// The same code as in previous snippet...
18function sendEmail(endpointUrl, data, onSuccess, onError) {
19  $.ajax({
20      type: "POST",
21      url: endpointUrl
22      data: JSON.stringify(data),
23      contentType: "application/json; charset=utf-8",
24      dataType: "json",
25      success: onSuccess,
26      error: function(xhr, status) {
27        if (typeof this.statusCode[xhr.status] !== 'undefined') {
28          return false;
29        }
30
31        onError(err);
32      },
33      statusCode: {
34        // Endpoint thinks that it's likely a spam/bot request, you need to change "spam protection mode" to "never" in HeroTofu forms
35        422: function(response) {
36          alert("Cannot send request, are you robot?");
37        },
38      }
39    });
40}

That's it!

You can now send emails from your jQuery application. All without the burden of the server/backend code.

Notice

We and selected third parties collect personal information as specified in the privacy policy and use cookies or similar technologies for technical purposes and, with your consent, for other purposes as specified in the cookie policy.

Use the “Accept” button to consent. Use the “Reject” button or close this notice to continue without accepting.