React Send Email Guide
(Free And Without Backend)
We all know that React's primary purpose is to be running in browsers. Because of that, it's super powerful but also has quite a few limitations. For example, being client-side only, it can't do certain things that we would take for granted on the server-side. A good example would be sending emails. As all the client code is public, you wouldn't want to expose your mail server credentials to the whole world.
So the question is, how to send emails from React without a backend? Luckily, this guide answers it perfectly.
P.S. If you want to know how to send form data (such as contact form fields), you can read the React Contact Form guide.
Create the email function inside of React App
You'll send the email on that function. We’ll need to get two arguments for it to work: endpoint URL and "data." Then, a simple POST request and returning the state with the response of that request. We'll be using react hooks, but the example is straightforward to port to the class components. See the sample code.
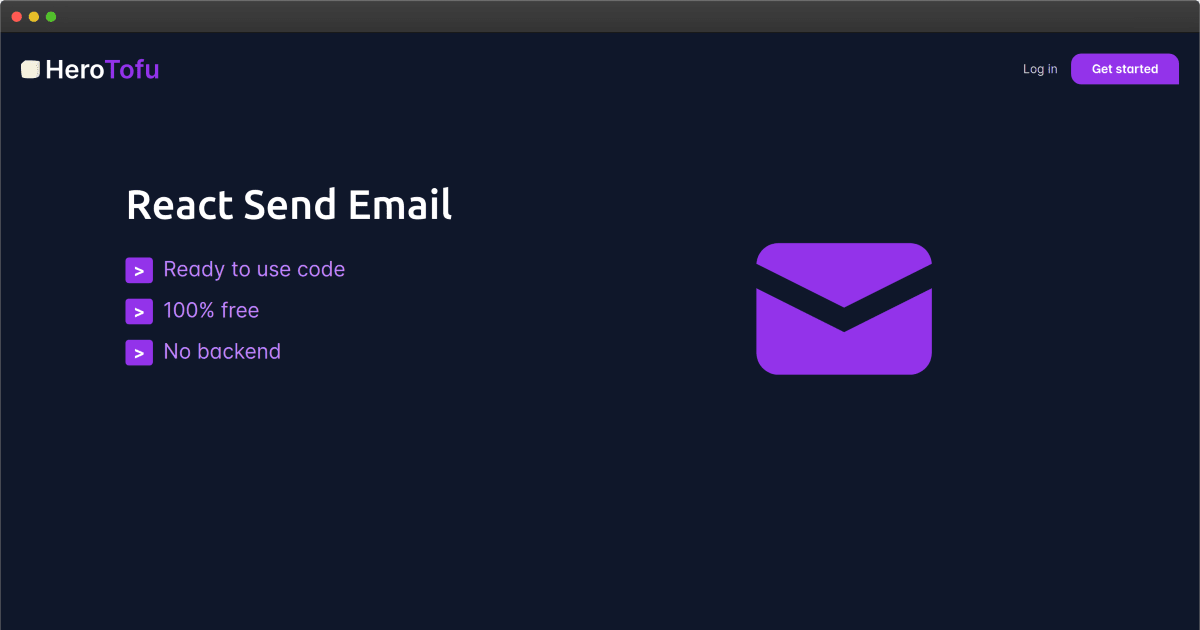
Signup for the free HeroTofu account
To create an account, go to herotofu.com . It is capable of handling all the complex email sending work. You can take the 14-day free trial and then leave it in the free forever plan. It's usually more than enough for small websites.
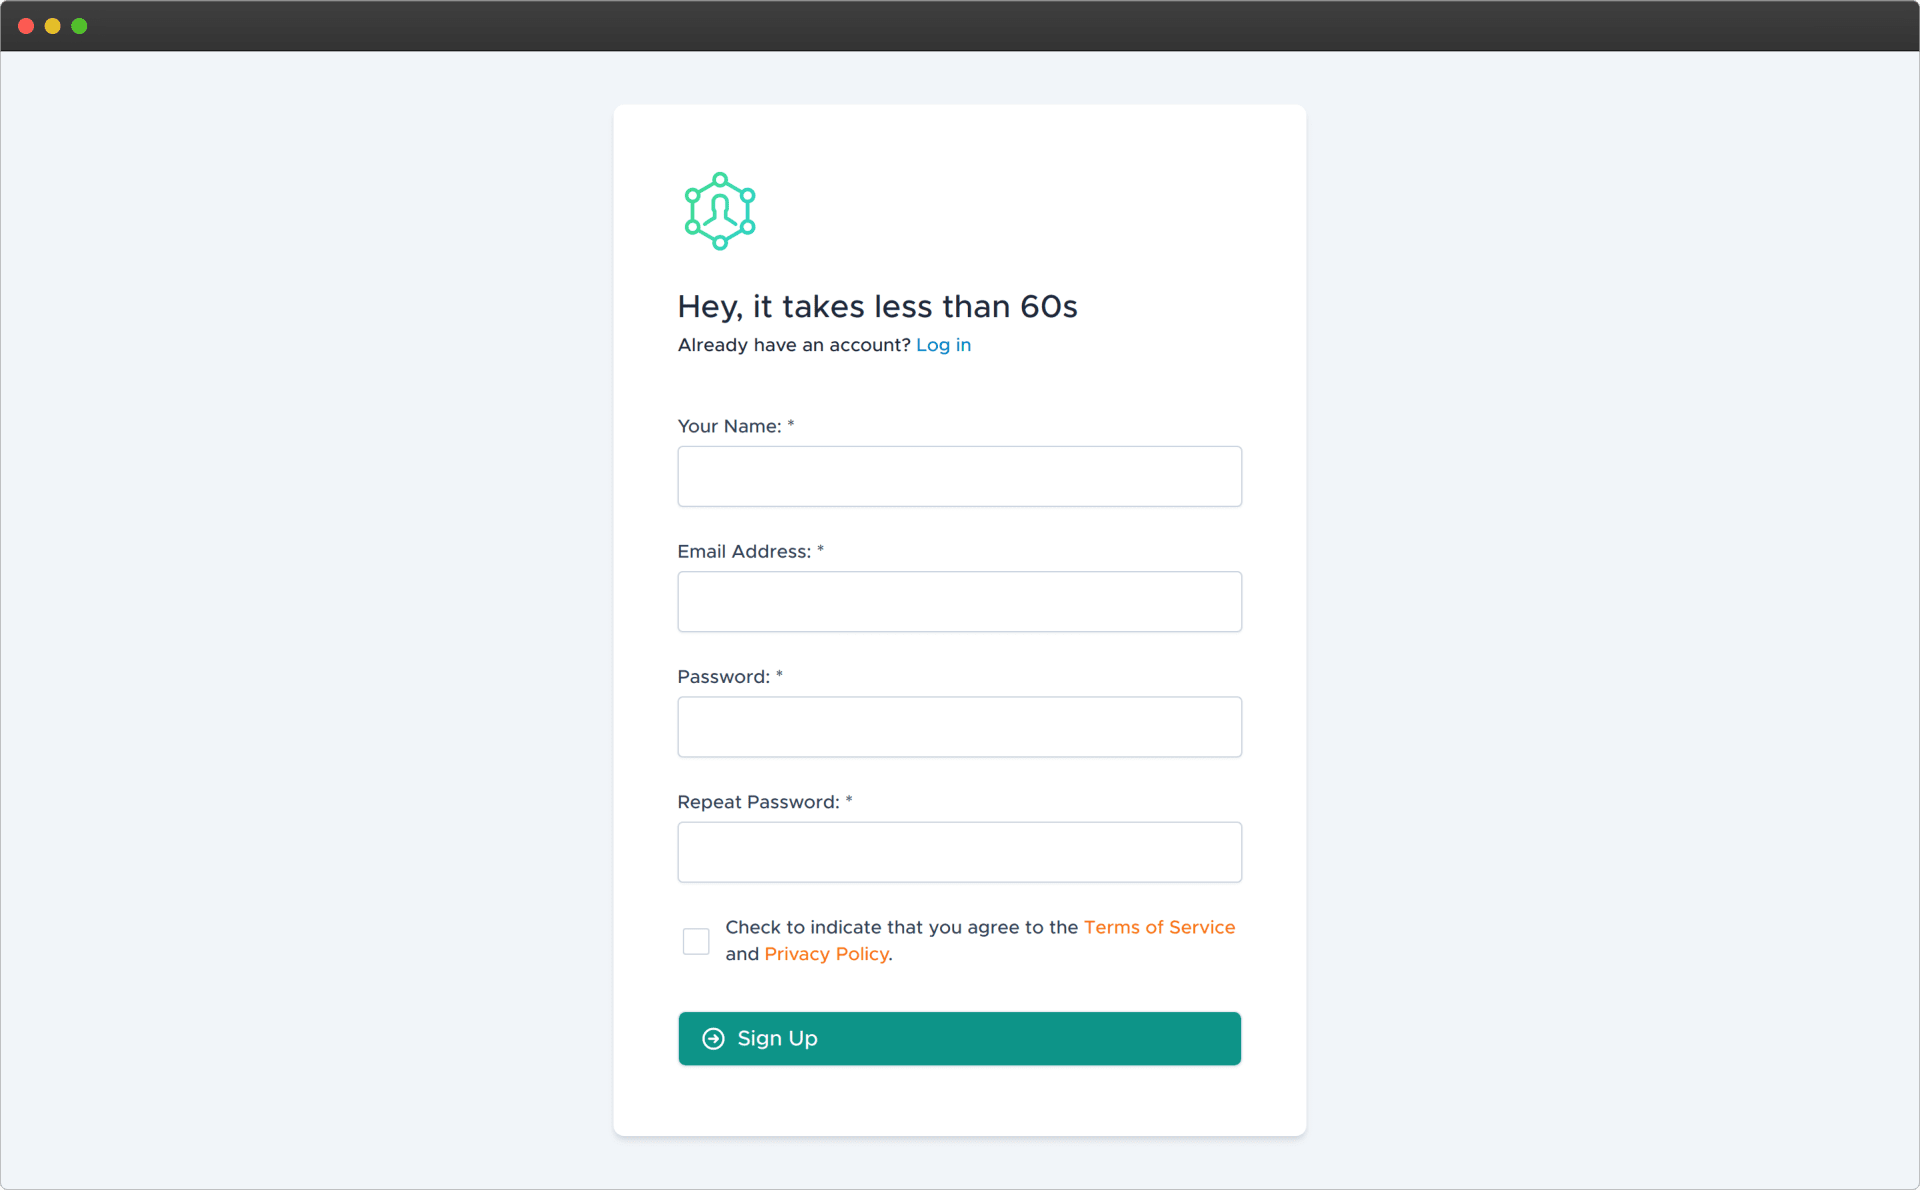
The registration is easy. After filling in the primary fields, you should receive an email confirmation.
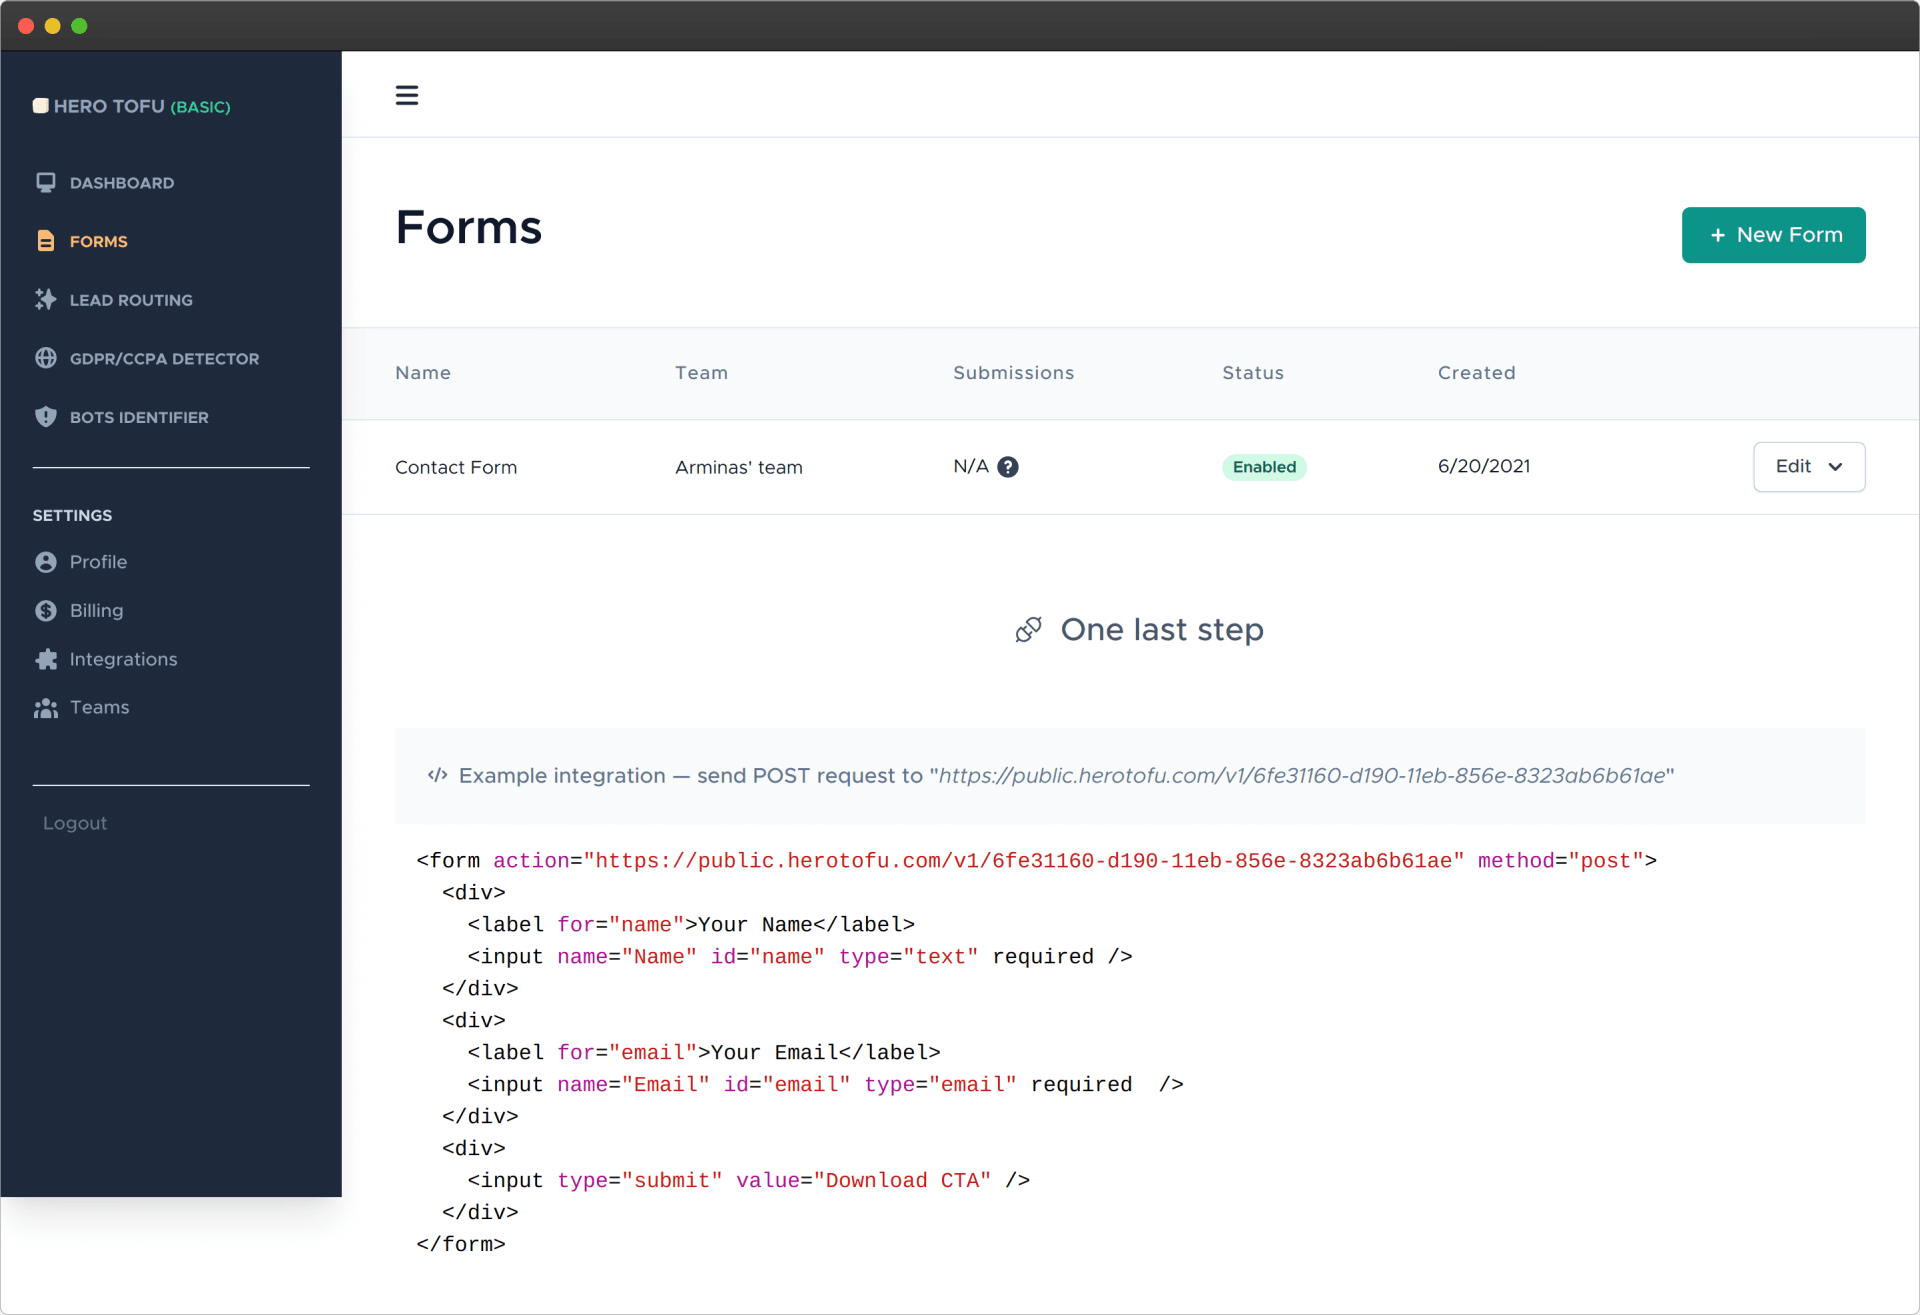
Create a new backend, set your email, spam protection
Go to app.herotofu.com/forms to make your first form after you have confirmed your email address. In this case, the form will function as our API backend/endpoint. Attach your preferred email address where you'd like to receive your data submits. Be sure to select spam protection as "never." You'll be sending API requests yourself, so they shouldn't ever be detected as spam by HeroTofu.
Remember to copy the endpoint URL once you hit submit.
Add component into your app, pass some data
The last step is implementation. Call your created function with the endpoint URL and actual data. HeroTofu will forward that data to your email.
That's it!
You can now send emails from your React application. All without the burden of the server/backend code.
Related questions
How do I send form data to an email in React?
It's doable via HeroTofu; check out the React Contact Form guide guide.
How do I create a contact form in React JS?
This guide has an example of the ready-to-use contact form.
How do I send an email in the Next JS?
As it uses the React framework under the hood, the process is identical to this guide.
Can I use Nodemailer in React?
Unfortunately, no. Nodemailer is the backend-only library.
How do I send an email with Sendgrid and Reactjs?
For either of these, you would need to use the backend. This process could expose your credentials which can raise big security concerns. You don't need any email provider when using HeroTofu.
How do you use EmailJS?
EmailJS is a fantastic email service that also lets you send emails from the frontend. Yet, if you operate mainly with form-like data structures, HeroTofu would fit a bit better.